


Taking backup of NSM On-Premise before upgrade
 10/05/2023
  1 People found this article helpful
 149,075 Views

Description
Issue: NSM On-Premise System backups may be incomplete or corrupted
Resolution
Caution: DO NOT use any of the existing backups in NSM as it may result in complete loss of data.
Current NSM On-Premise Systems backups can’t be used for restore.
Impacted Versions: NSM 2.3.4-6-R15 or earlier.
Fixed Version: Incomplete backup issue is fixed in NSM 2.3.4-6-R16 release and backup taken in NSM 2.3.4-6-R16 are complete. However, more issues related to restore are fixed in NSM 2.3.4-6-R17. If you are running NSM 2.3.4-6-R16 or earlier, it is highly recommended to upgrade to NSM 2.3.4-6-R17 using the following steps outlined below.
Steps to be performed before NSM upgrade.
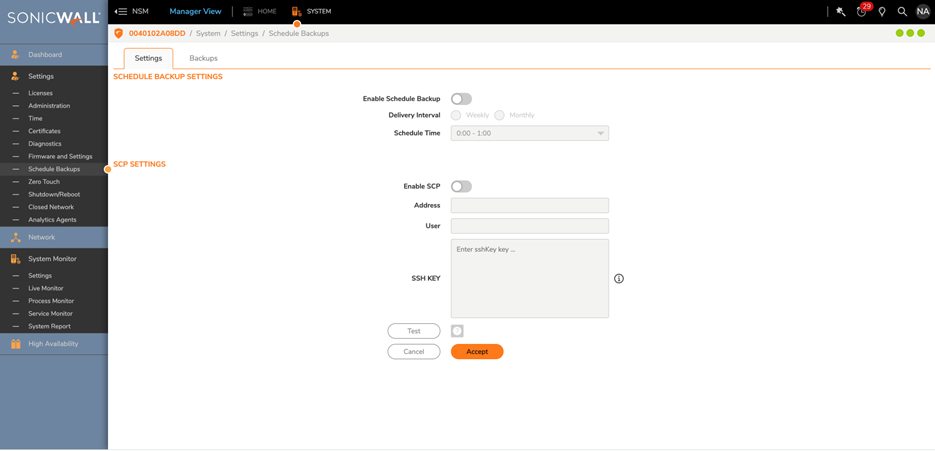
- Export NSM settings by login into NSM and going to “System->Settings->Firmware and Settings.”
- Take a backup of json as per below KB:
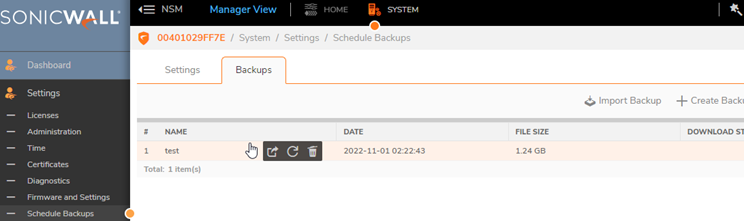
https://www.sonicwall.com/support/knowledge-base/how-to-export-or-import-all-managed-firewalls-on-nsm-on-prem/230104165757253/ - If you are upgrading from NSM 2.3.4-6-R15, delete pre-existing backups before upgrading by login to NSM and navigating to “System-> Settings->Scheduled Backups”, mouse over backup name and click on delete action as shown in below screenshot.
- Take snapshot of NSM VM after powering off NSM from management console, please refer to appendix below for platform specific VM snapshot procedures.
- After successful upgrade, create a new backup for NSM by following steps in
https://www.sonicwall.com/support/knowledge-base/how-to-backup-and-restore-an-nsm-on-prem-system/220215072616020/
Appendix
ESXi
- Login to ESXi host and Right Click on NSM VM;
- Click on Power | Power off NSM VM in ESXi host;
- Once NSM VM is Powered off, right click on NSM VM again;
- Click on Snapshots | Take Snapshots and specify name and click Take Snapshot;
- To Restore Snapshot taken earlier, Right Click on VM again and click on Restore Snapshot;
- For details, refer to below KBs:
Azure
- Login to Azure Portal and follow the steps provided in the link to create Snapshot:
Create an Azure snapshot of a virtual hard disk - Azure Virtual Machines | Microsoft Learn - Once Snapshot is created, create a Disk from that Snapshot to be used later for restore;
- To restore, Create new VM using Snapshot Disk using below kb link:
Attach an existing OS disk to a VM - Azure Virtual Machines | Microsoft Learn
Hyper-V
- Follow below steps for taking Snapshot (Checkpoints):
https://learn.microsoft.com/en-us/virtualization/hyper-v-on-windows/user-guide/checkpoints
KVM
- Follow below steps to take Snapshot on KVM:
https://access.redhat.com/documentation/en-us/red_hat_enterprise_linux/7/html/virtualization_deployment_and_administration_guide/sect-managing_guest_virtual_machines_with_virsh-managing_snapshots#doc-wrapper
Related Articles
- Restrict access to MySQL port on GMS Distributed setup
- NSM 2.3.5 compatibility with SonicOS 7.1.1
- How to Disable services under GMS
 YES
YES NO
NO