How to backup and Restore an NSM On-Prem System?
Description
Process to create Backup and then Restore it on another NSM system in case if the NSM system was crashed and cannot be recovered.
This process can also be used to upgrade to latest NSM version in case if there are SWI files are not available for the upgrade, instead we have only installation file available for download and upgrade and the System Update option is not applicable due to same SonicOS build.
Resolution
Steps to take backup of the NSM system:
Steps to Backup NSM:
1. As a best practice, it is always recommended to Download the Add Device CSV and Add Device JSON files from NSM system when it is in working condition.
In case if the NSM system crashes and there is no backup from the system, we can spin a new NSM System and import this Add Device JSON file to get all the devices re-added to the system.
 NOTE: In case if Zero touch is used to acquire the devices in NSM, we won't have the Add Device CSV or Add Device JSON files. In that case we just need to make sure that the new NSM is configured using same serial number and same ip address as the old one, also all the devices are running minimum 6.5.4.7 for Gen 6 firewalls and Gen 7.0.1 for Gen 7 devices.

2. Login to Old NSM System, Go to System->Settings->Firmware and Settings :
In the Old or Existing NSM system, we see the NSM serial which starts with "004010".

3. Go to System and Export the NSM system Backup.
System->Settings->Firmware and Settings->Import/Export Settings->Export Settings:

4. The Exported backup file will have .cfg extension. We cannot open this file.
Once the backup is exported, we can decommission the old server or we can keep it turned off for few days while the
new server is UP and running and can be decommissioned later.
Steps to restore the NSM backup to a new NSM system:
1. Set up a new NSM system with same ip as the old one.
2. Register the new NSM system with same serial number and authentication code as the old one.
3.Login to the New NSM System and Import the backup file.
System->Settings->Firmware and Settings->Import/Export Settings->Import Settings:

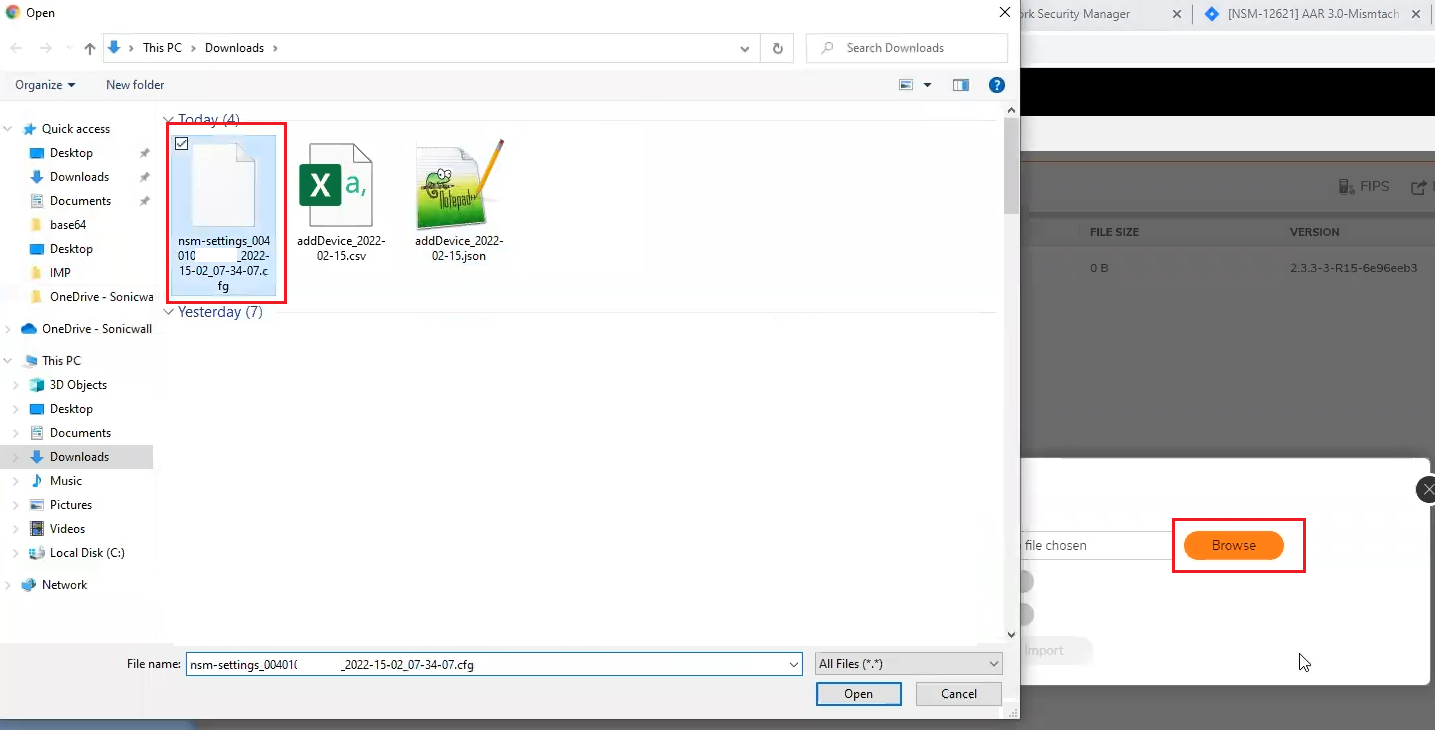
4. Prompt will appear to browse the backup file, choose the backup file with .cfg extension:

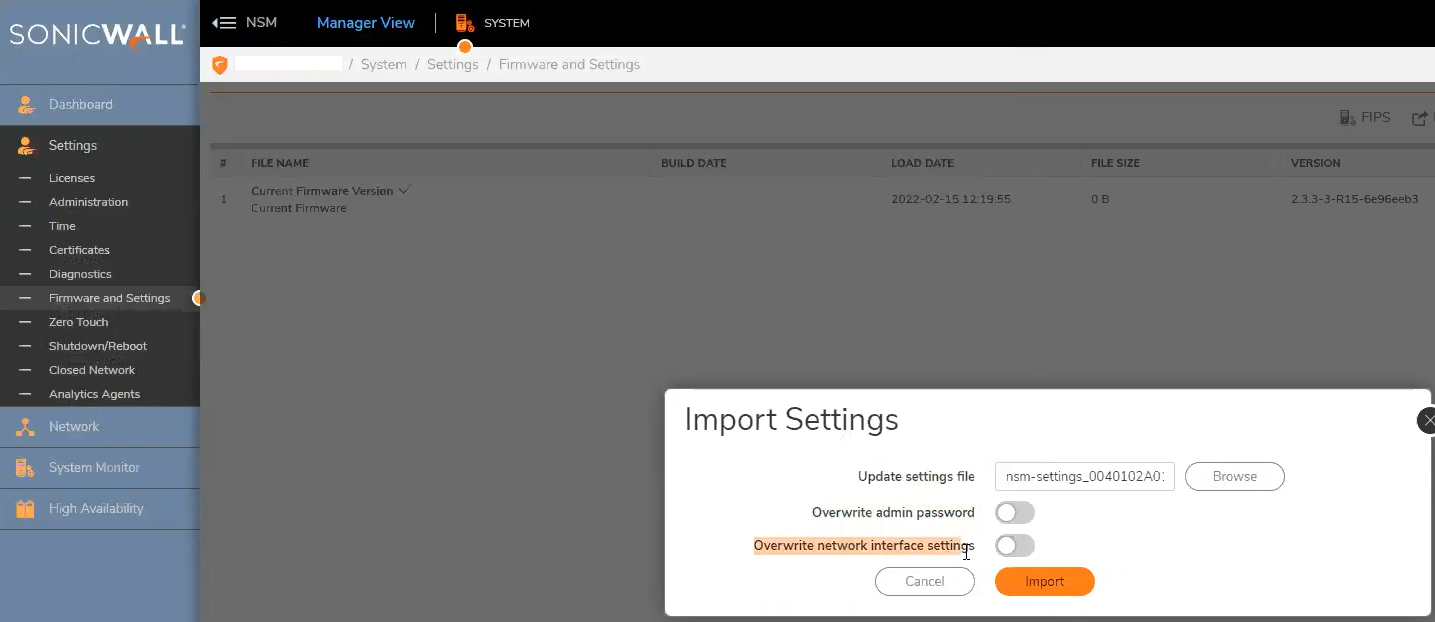
5. The dialogue box for import file will have the following two options:
- Overwrite Admin Password: This option if enabled, the new NSM system admin login password will get overwritten with the old System password.
- Overwrite Network Interface Settings: This option if enabled, the new NSM system interface ip settings will get overwritten with the old System ip address.
In this example, these options are kept as disabled.


After the import process is successfully completed, the new NSM system will be up and running with old system backup.
 CAUTION: Make sure to import the backup to a system running the same NSM version or later. If imported on a system running older version then the import may fail or the System may not function properly.