


How do I install the WXA 5000 in a Hyper-V environment?
 12/20/2019
  564 People found this article helpful
 428,187 Views

Description
This article covers how to install the WXA 5000 virtual appliance using Hyper-V.
Resolution
- Deploy Hyper-V.
The following Microsoft Technet article was used as a reference for Hyper-V deployment: https://technet.microsoft.com/en-us/library/hh846766(v=ws.11).aspx - Download and extract the WXA 5000 Hyper-V Virtual Appliance.
Download the WXA 5000 VA for Hyper-V zip file, and extract it on the target Hyper-V server. To do this login to www.mysonicwall.com. Navigate to Downloads | Download Center | Software Type and select the WXA 5000 virtual appliance for Hyper-V. - Create a virtual switch for the WXA named ‘WXA-Network’.
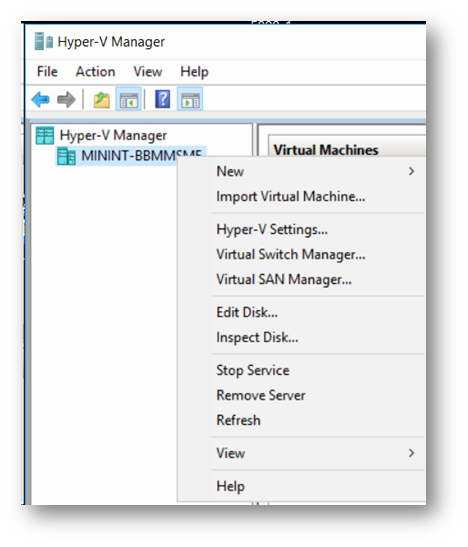
- Right click the Hyper-V host name and click “Virtual Switch Manager…”
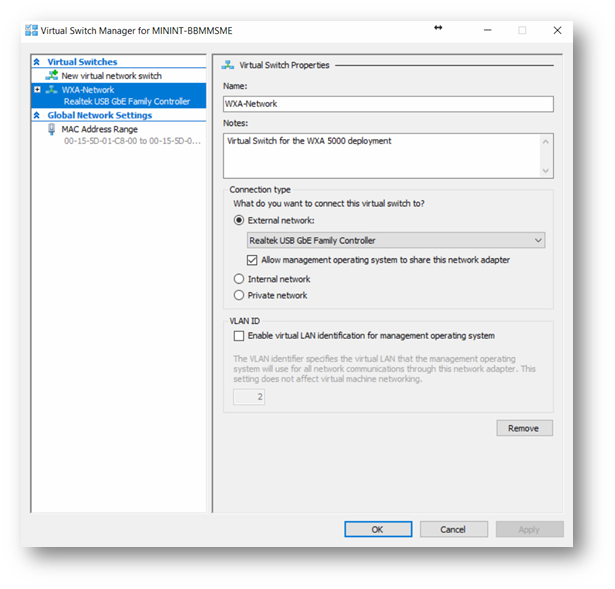
- Name the new virtual switch “WXA-Network", and select the physical interface it will use.
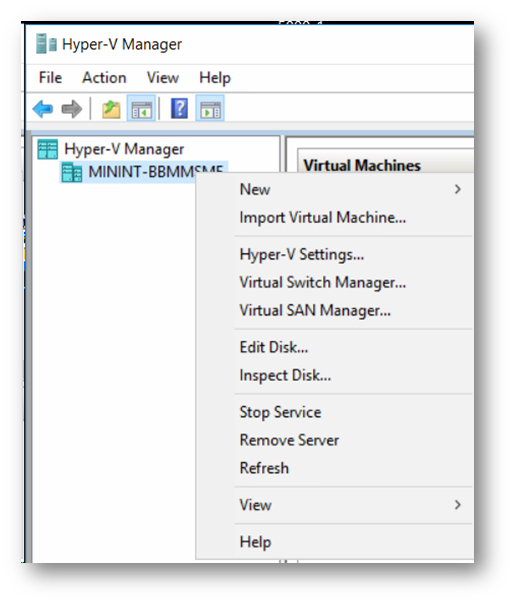
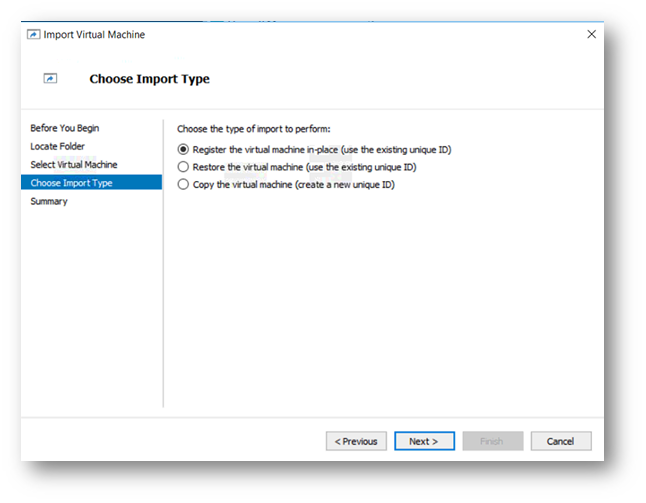
- Right click on the Hyper-V host name and click “Import Virtual Machine…”. Click Next.
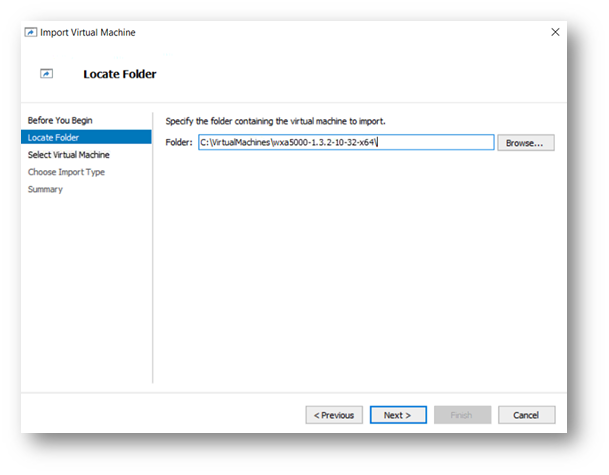
- Choose the Import Type. Registering the virtual machine in-place keeps the virtual machine in the source folder path. Restoring the virtual machine presents options for restoring the virtual machine to a specified location or to the default Hyper-V folder paths. Copying the virtual machine does the same thing, but does so with a new unique ID. In this example, we chose the first option—registering the virtual machine in-place. Click Next, and then click Finish to complete the wizard.
- Configure WXA’s interface in SonicOS.
Refer to the SonicOS 6.2 Administrators Guide or SonicOS 6.5 Quick Configuration Guide for deployment scenarios and SonicOS configuration. - Confirm that the WXA has received an IP address.
Use the “Connect…” option on the WXA virtual machine to view the display information. Press Enter on “Show Network Settings” to confirm the WXA’s IP address.
Related Articles
- Supported SonicWall and 3rd party SFP and SFP+ modules that can be used with SonicWall TZ series
- Certificate Signing Request (CSR) Error: Please enter a valid certificate name for SonicOS 7.1.1
- SNMP OID values that are not supported on Gen7 firewalls
Categories
Not Finding Your Answers?
ASK THE COMMUNITY - Right click the Hyper-V host name and click “Virtual Switch Manager…”
 YES
YES NO
NO