


How to clear the Capture ATP Cache on the SonicWall
 07/13/2023
  38 People found this article helpful
 456,924 Views

Description
The Capture ATP Cache are used to store the reply with one of three statuses: "GOOD", "BAD", and "PENDING" from the server.
- This cache is looked up before sending a request to the server. A valid "GOOD" or "BAD" entry in the firewall's cache prevents the firewall from generating a request for the same MD5 again. Whereas a "PENDING" entry causes a new request to be sent.
- Each cached response also has a lifetime (TTL) that is set by the server when it sends the response. This TTL is can be configured by the server administrator.
- When an expired entry is encountered, it is removed from the cache and new request is sent to the server.
The Capture ATP Cache can be cleared by the user by clicking on the "Reset Capture ATP Cache" button on diag.html page.
 NOTE: As usual, all operations and settings on diag.html are supposed to be done or changed respectively only with the advice of SonicWall support personnel.
Resolution
Resolution for SonicOS 7.X
This release includes significant user interface changes and many new features that are different from the SonicOS 6.5 and earlier firmware. The below resolution is for customers using SonicOS 7.X firmware.
- Typing the IP/sonicui/7/m/mgmt/settings/diag at the end
EXAMPLE: 192.168.168.168/sonicui/7/m/mgmt/settings/diag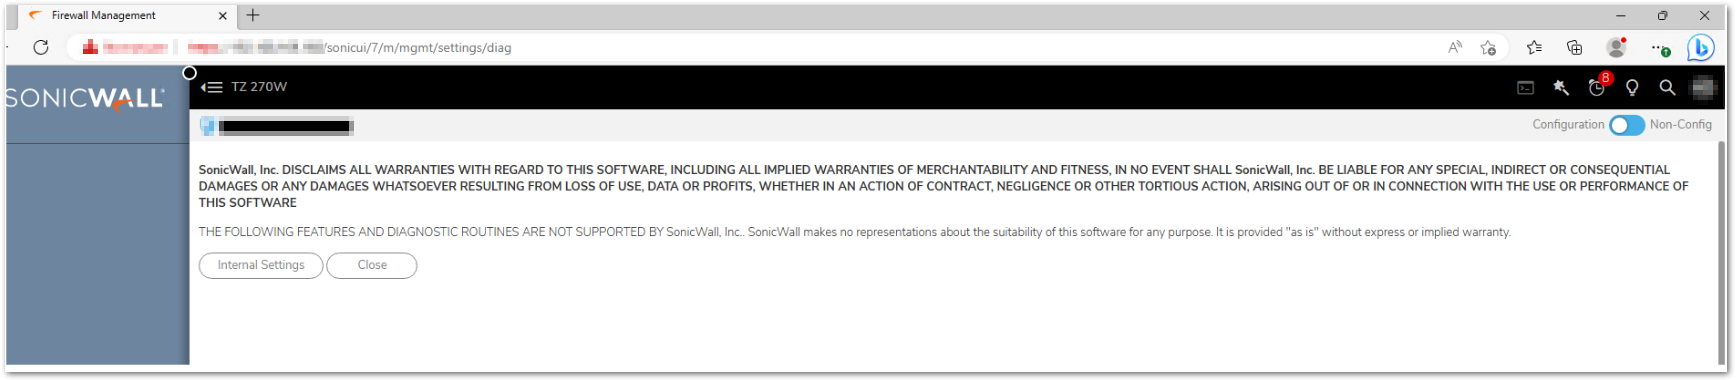
- Click Internal Settings | Scroll down and Click the Option Reset Capture ATP Cache.
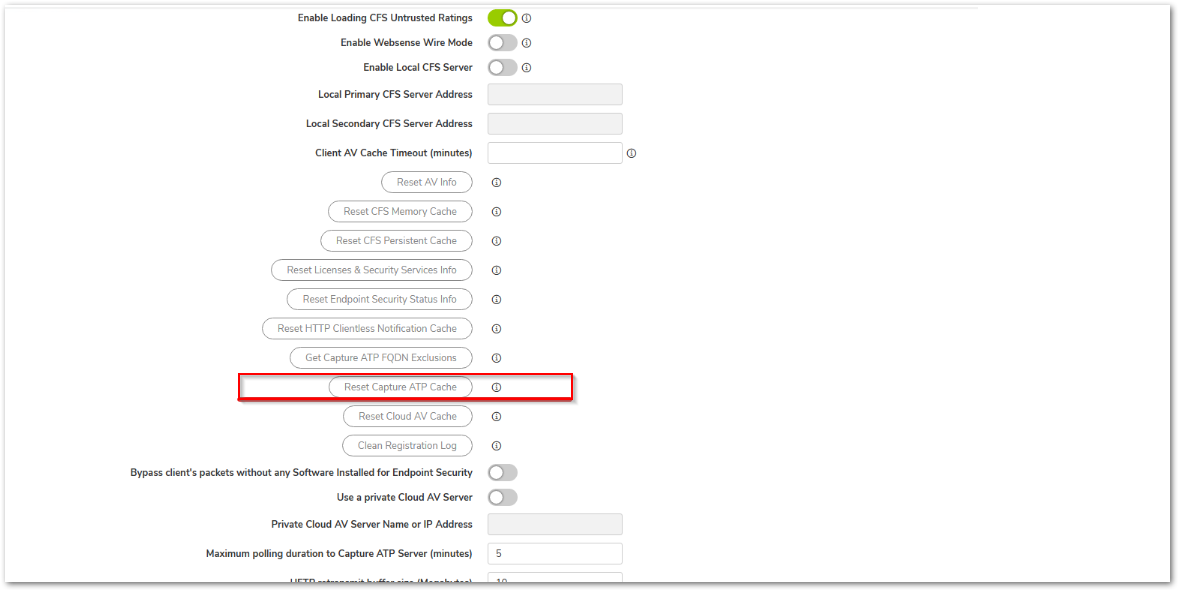
- Then, click the Accept button at the top to submit the configuration.
Resolution for SonicOS 6.5
This release includes significant user interface changes and many new features that are different from the SonicOS 6.2 and earlier firmware. The below resolution is for customers using SonicOS 6.5 firmware.
- The Diag page can be reached by typing in the LAN IP of the SonicWall in the browser, with a /diag.html at the end.
 EXAMPLE: 192.168.168.168/diag.html
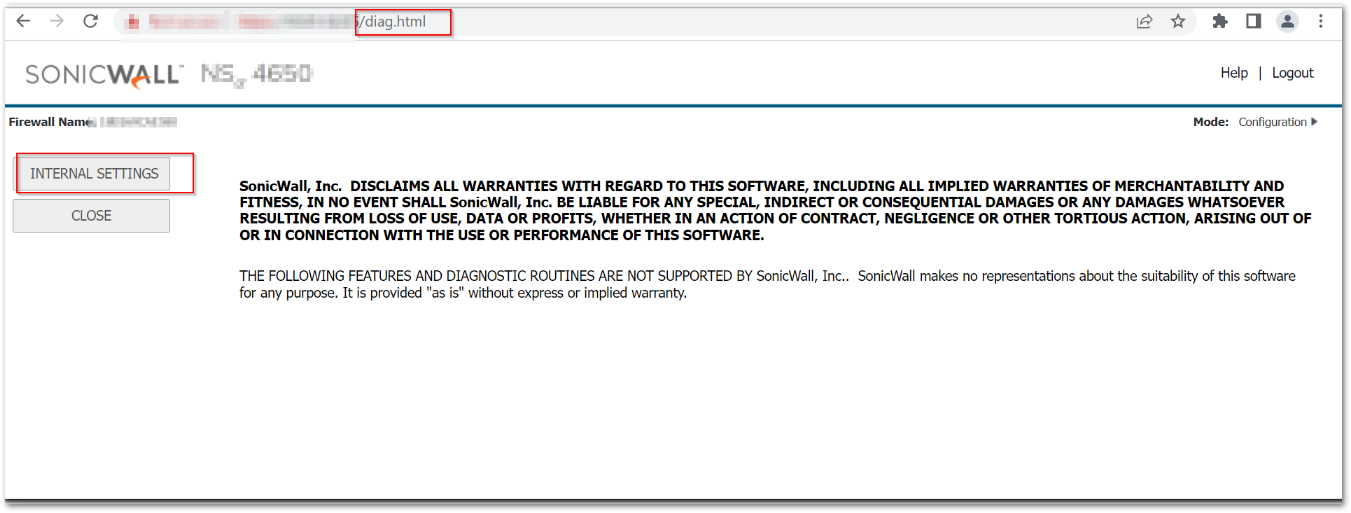
- Click Internal Settings | Scroll down and Click the Option Reset Capture ATP Cache.
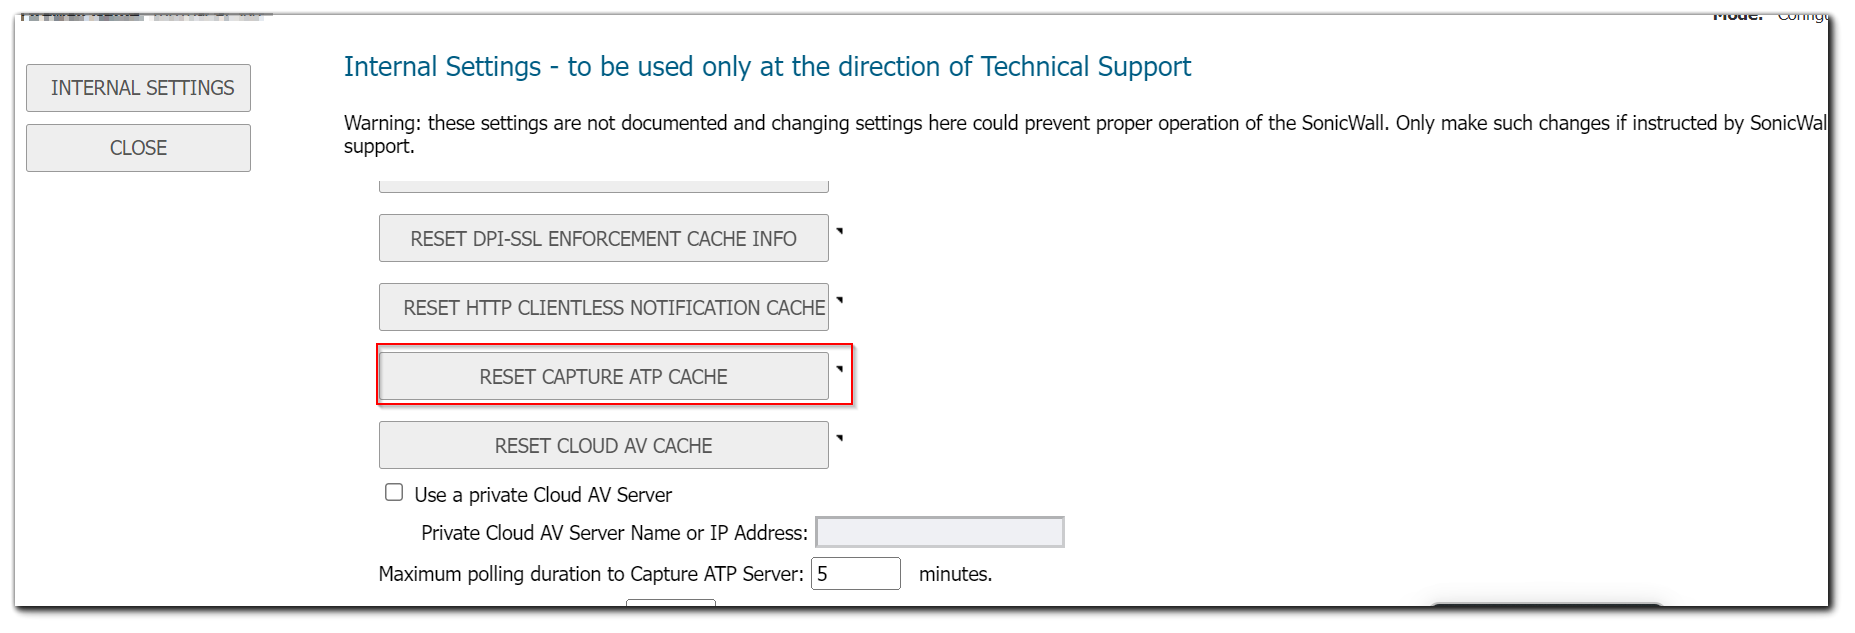
- Then, click the Accept button at the top to submit the configuration.
Related Articles
- How to enable DNS Doctoring?
- Understanding TCP Handshake violation
- How can I Install SonicWall NSv on AWS ?
Categories
- Firewalls > SonicWall SuperMassive 9000 Series > Capture ATP
- Firewalls > SonicWall NSA Series > Capture ATP
- Firewalls > TZ Series > Capture ATP
 YES
YES NO
NO