
SonicOS 8 Security Services Administration Guide
Table of Contents
Configuring Custom Blacklist Files
Enabling Custom Blacklist Files
The “Enable Custom Blacklist Files” feature allows administrators to control whether externally defined blacklist files are used for file inspection and blocking within the system.
To enable custom blacklist files
- Navigate to Policy | Security Services > Gateway Anti-Virus.
- On the Custom Blacklist Files page, select Enable Custom Blacklist Files.
This feature is only available if Gateway Anti-Virus is enabled.
Creating a Hash List
To create a hash list
- Navigate to Policy | Security Services > Gateway Anti-Virus.
- On the Custom Blacklist Files page, click Add.
- In the Add Blacklist Hash of File dialog, enter the name of Hash of File.
Only SHA-256, MD5 and SHA-1 hashes are allowed.
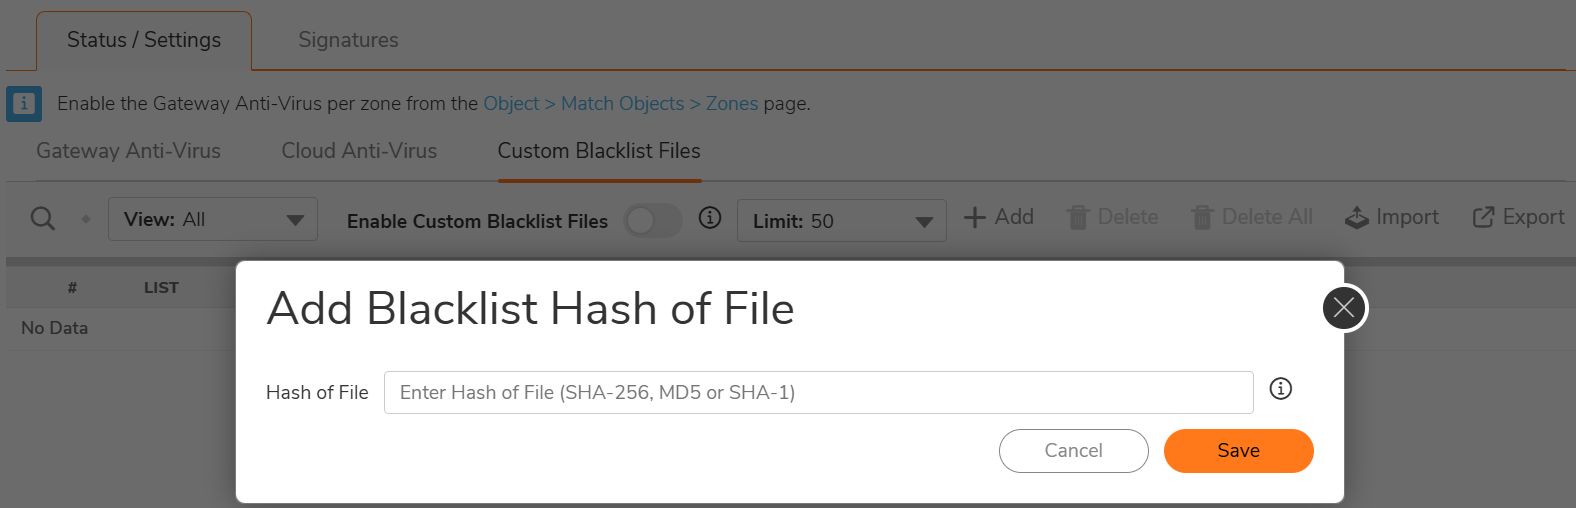
- Click Save.
Importing Hashes in Bulk
To import hashes in bulk, perform the following steps.
- Navigate to Policy | Security Services > Gateway Anti-Virus.
- On the Custom Blacklist Files page, click Import.
You can import up to 500,000 ((500K)) unique hash entries into the custom blacklist. Ensure values are separated by a new line in imported file. It accepts .txt or .csv file with max file size of 35 MB.

- Upload a file containing hashes (supported formats: .txt, .csv).
- Click Open.
For more details, refer to Indicator of Compromise.