


How to Install the SonicWall Terminal Services Agent (TSA)
 03/26/2020
  2 People found this article helpful
 453,436 Views

Description
Install the SonicWall Terminal Services Agent (TSA) on one or more terminal servers on your network within the Windows domain. The SonicWall TSA must have access to your SonicWall security appliance, and the appliance must have access to the TSA. If you have a software firewall running on the terminal server, you may need to open up the UDP port number for incoming messages from the appliance.
Resolution
SonicWall Terminal Services Agent (TSA) is available for download without charge from MySonicWall.
Here's how to install the SonicWall TSA:
- Go to www.mysonicwall.com and log into your account.
- Go to Downloads | Download Center.
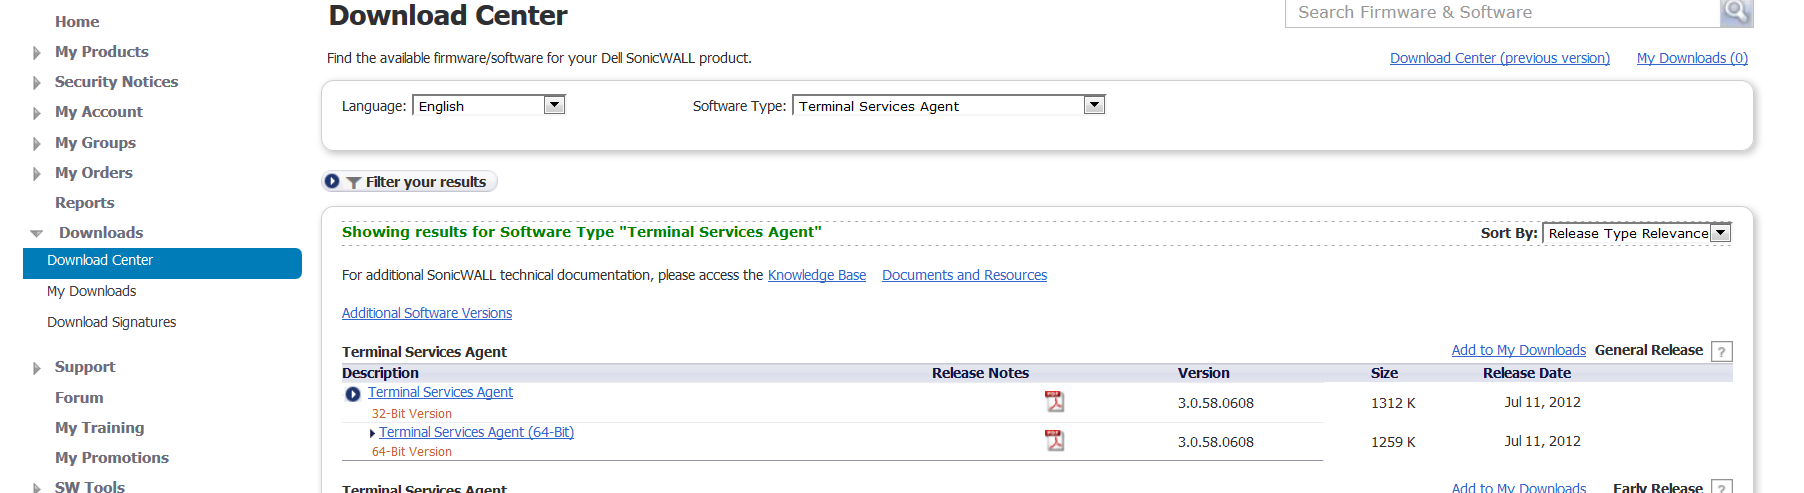
- On a Windows Terminal Server system, download one of the following installation programs, depending on your computer:
- Terminal Services Agent 32-bit Version
- Terminal Services Agent 64-bit Version
- Double-click the installation program to begin installation.
- On the Welcome page, click Next to continue.
- The License Agreement displays. Select I agree and click Next to continue.
- On the Select Installation Folder window, select the destination folder. To use the default folder, C:Program FilesSonicWallSonicWall Terminal Services Agent, click Next. To specify a custom location, click Browse, select the folder, and click Next.
- On the Confirm Installation window, click Next to start the installation.
- When installation is complete, click Close to exit the installer.
You must restart your system before starting the SonicWall Terminal Services Agent. To restart immediately, click Yes in the dialog box. To restart later, click No.
For help with configuring the SonicWall TSA, see our article How to configure the SonicWall Terminal Services Agent.
Related Articles
- Base de datos de firmas no descargada para control de App, IPS, GAV.
- ¿Cómo cargar un certificado firmado por CA al servicio VPN SSL?
- Donde puedo ver el estado del usuario SSL-VPN activo en el firewall de Sonicwall?
Categories
- Firewalls > SonicWall NSA Series
- Firewalls > SonicWall SuperMassive 9000 Series
- Firewalls > SonicWall SuperMassive E10000 Series
- Firewalls > TZ Series
 YES
YES NO
NO