


Content Filtering Client: Configuration for Chromebooks
 03/26/2020
  0 People found this article helpful
 460,809 Views

Description
This article explains the configuration of Content Filtering Client on Chromebooks
Cause
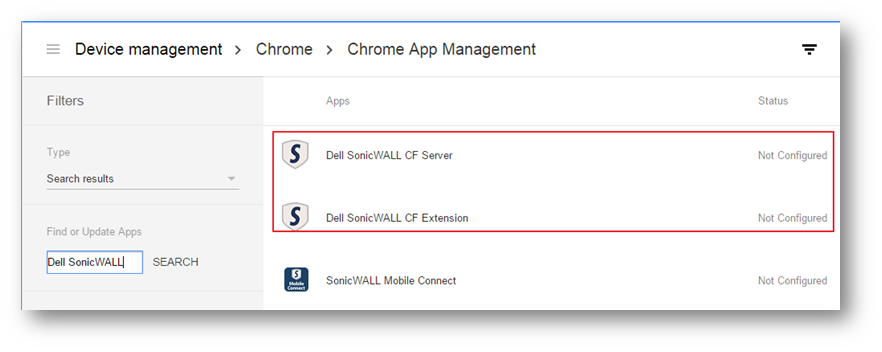
The setting up of Content Filtering Client on Chromebooks is slightly different from the configuration on Windows and Mac OS. Chromebooks require both the SonicWall CF Server as well as the SonicWall CF Extension
Resolution
Step 1: Adding OUs and users in Google Admin Console
- Log into the Google Admin Console as the domain administrator
- Configure Organizational Units (OUs) and add users as per requirement.
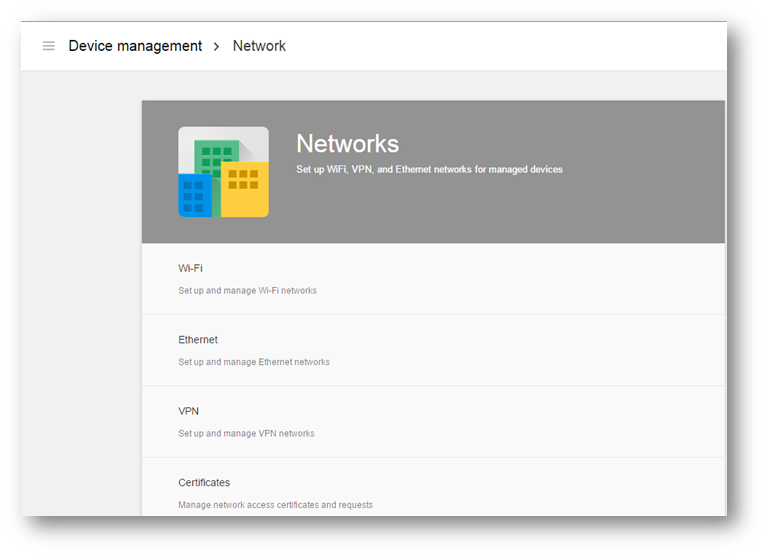
Step 2: Adding the Content Filter Client CA Certificate to the store
- The certificate can be found in your mysonicwall.com account
- Navigate to Device Management -> Network -> Certificates
- Add the SonicWall CFC CA Certificate to the list. You can add this to the root level so it is inherited to all the OUs.
- Check the " Use this certificate as an HTTPS certificate authority" option.
- Save the changes.
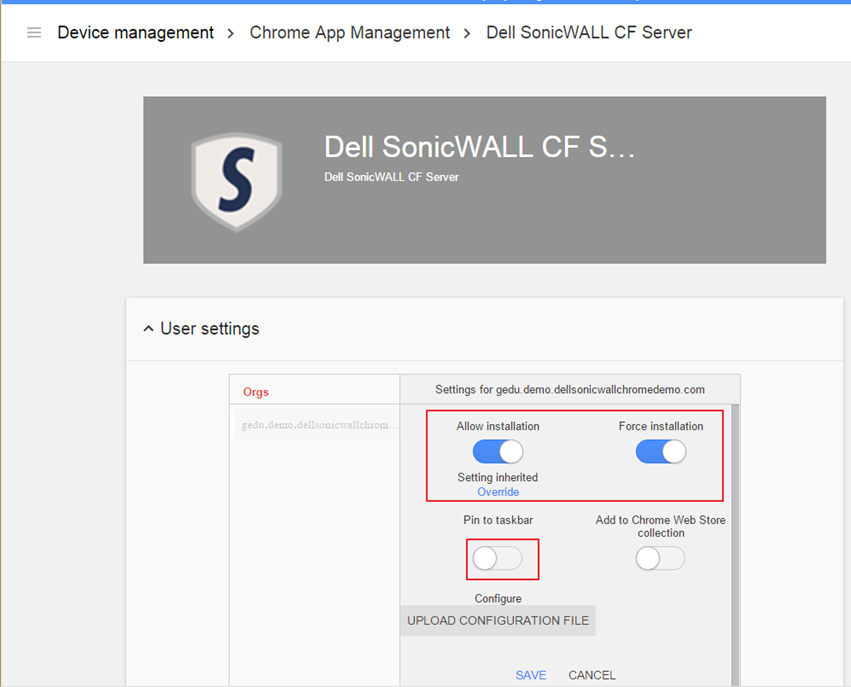
 option under Force Installation
- Use the toggle to enable Force installation of the application.
- Under the configure option, select "Override". This allows us to upload the configuration file. This is the .json file that contains the license key for CFC.
 {
{
"secid": {
"Value": "CB000000000"
},
"runOnBrowsers": {
"Value": false
}
}
Step 5: Ensuring the devices get the right CF policy by modifying them in EPRS
- Log into your EPRS through the firewall or using your MSW account.
- From here, you can assign the required CF policies to the different devices.
 YES
YES NO
NO