


How Do I Configure Capture Client Device Control Policy
 03/26/2020
  72 People found this article helpful
 451,158 Views

Description
This Article Provides a step by step explanation on how to configure Device Control Policies on Capture Client 2.0 or later versions
Resolution
Device Control feature with Capture Client 2.0 allows Administrators to control what USB devices can be connected to or are blocked from connecting to an Endpoint. This feature can be used on both Windows and Mac devices.Device Control allows administrators to prevent malware threats spreading via USB devices and also to prevent data exfiltration.
Device Control feature can be used at the tenant level and at the policy level; each device control list is independent of each other. The policy device control takes precedence over the global/tenant level device control
To Configure Device Control Policies, follow the following steps:
i) Tenant/Global level Device control Policy:
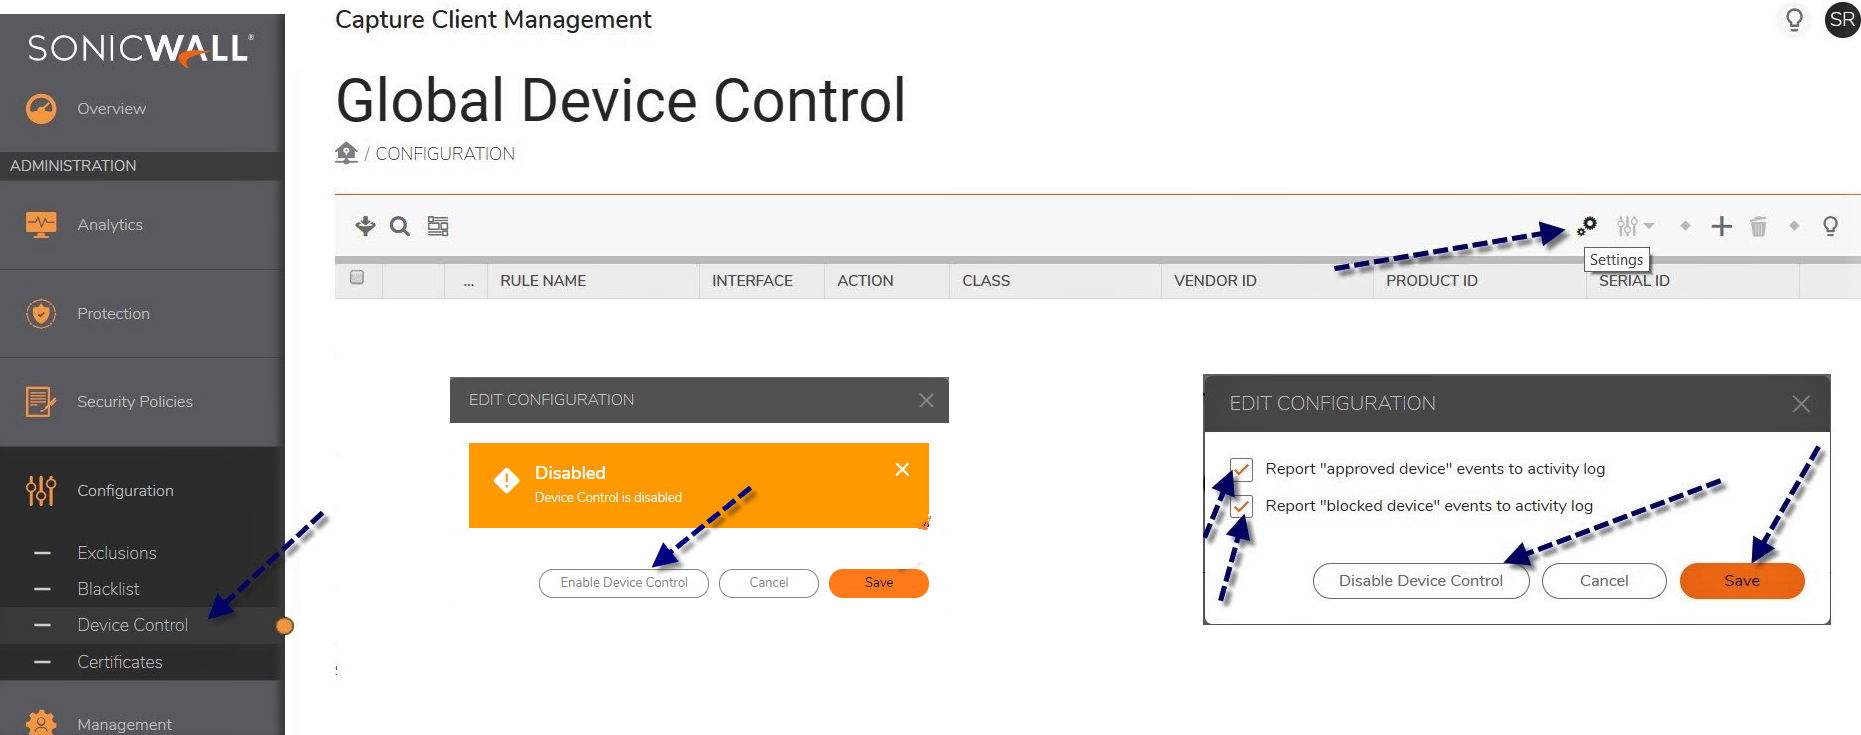
- Login to https://captureclient.sonicwall.com and navigate to Configuration>Device control and click on small settings icon to enable “Device Control feature” and click on "Enable Device Control" (you can also enable event activity logs) and click on save.
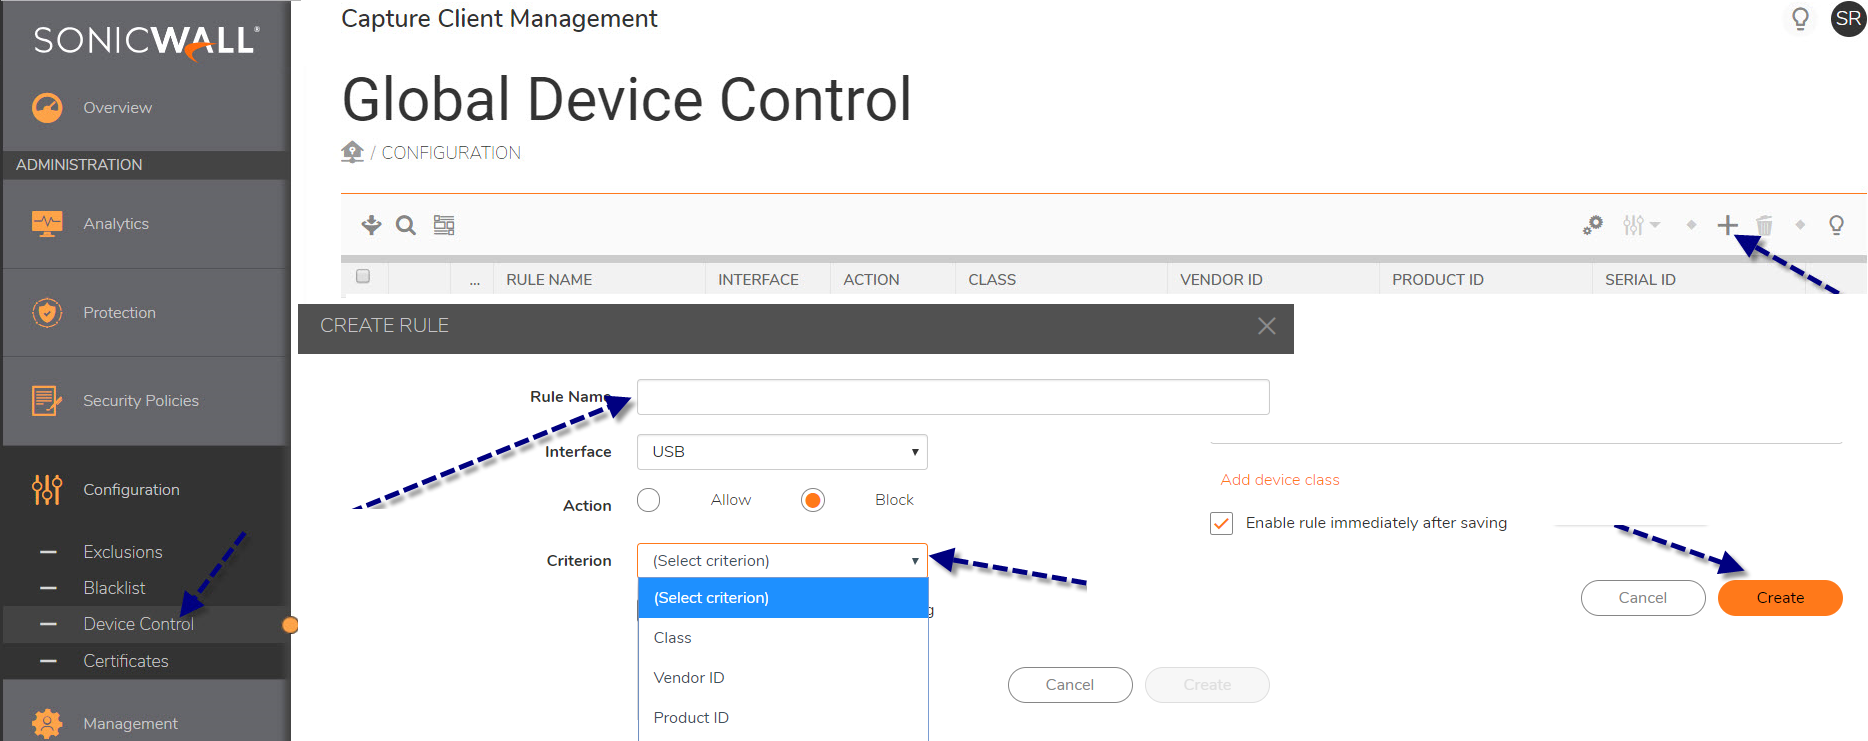
2. Navigate to Configuration> Device Control and click on small Add button>Type in rule name, select action {allow/block} and select criterion, enter required details ex: Vendor ID, Product ID and click on create.
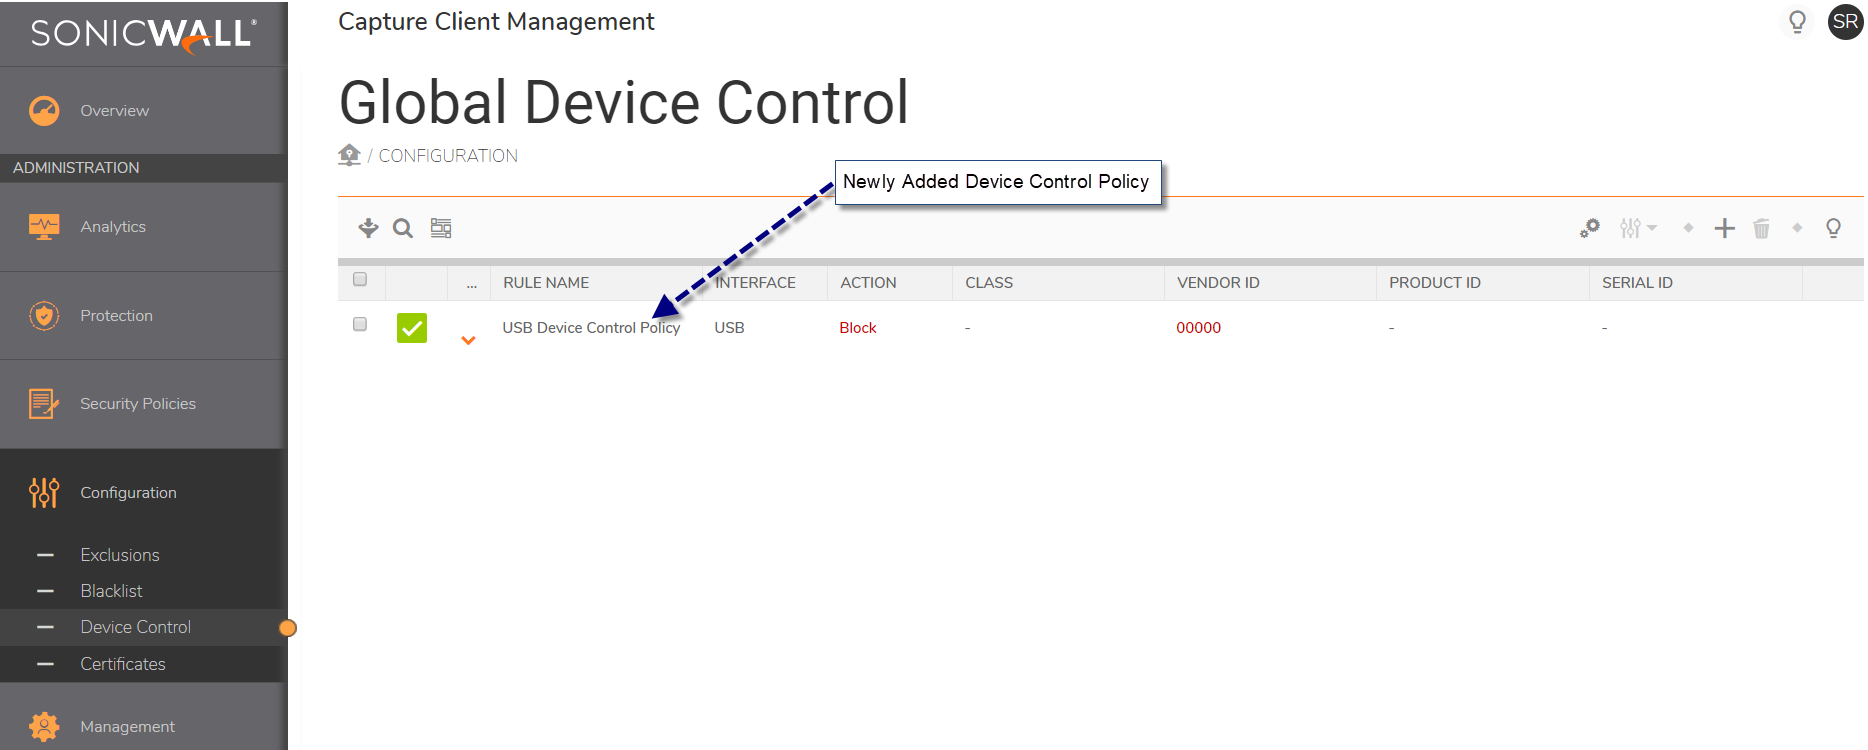
3. Navigate to Configuration> Device Control and verify that the Device Control Policy has been added successfully.
ii) Policy Level Device Control Policy:
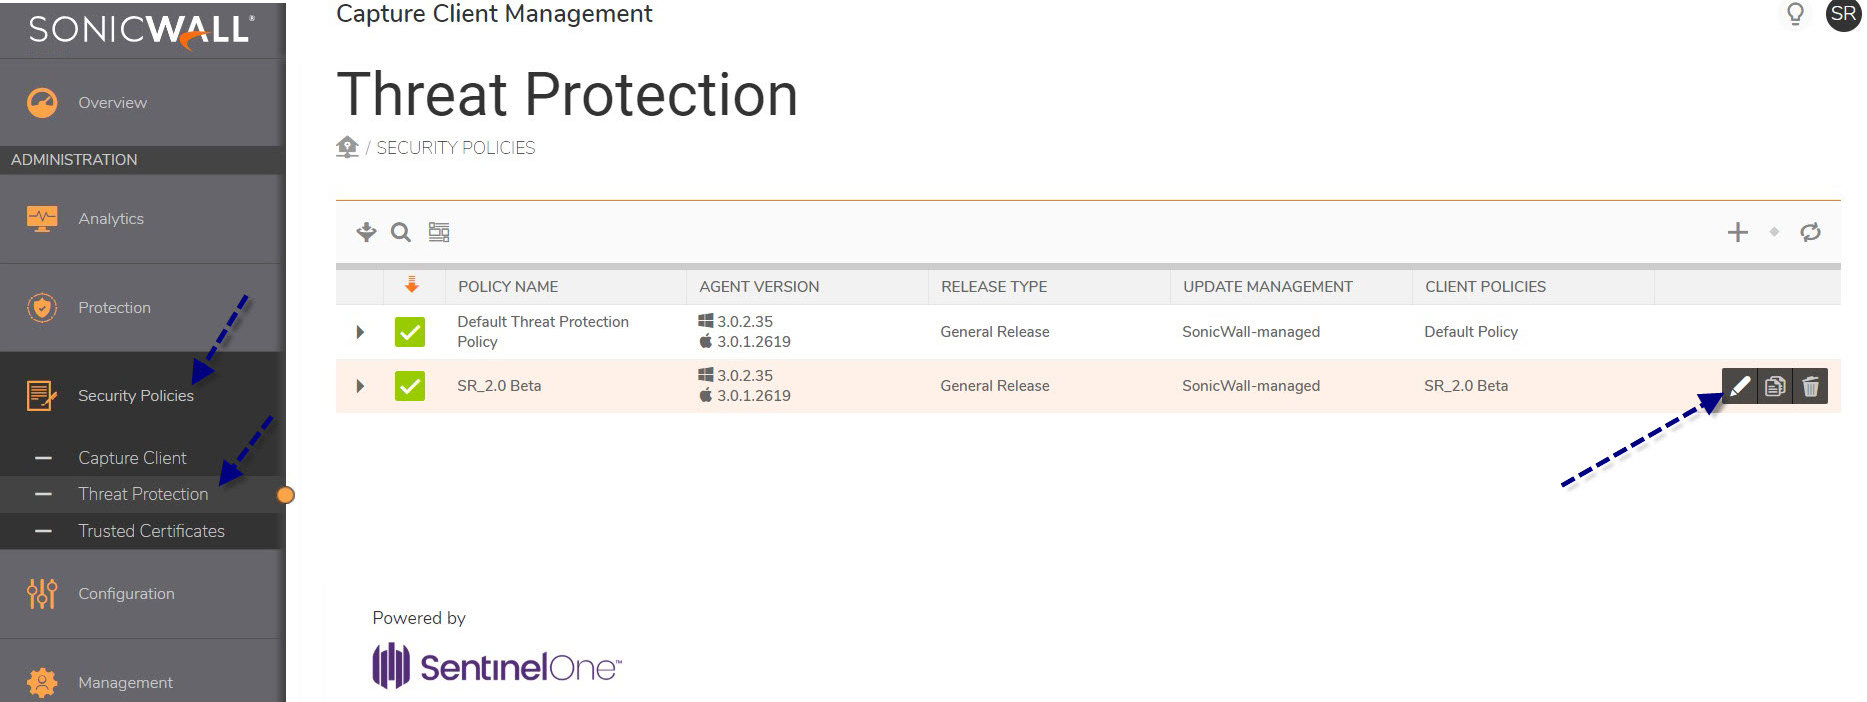
- Login to https://captureclient.sonicwall.com and Navigate to Security Policies>Threat Protection and click on edit button of the policy on which you want to configure Device Control.
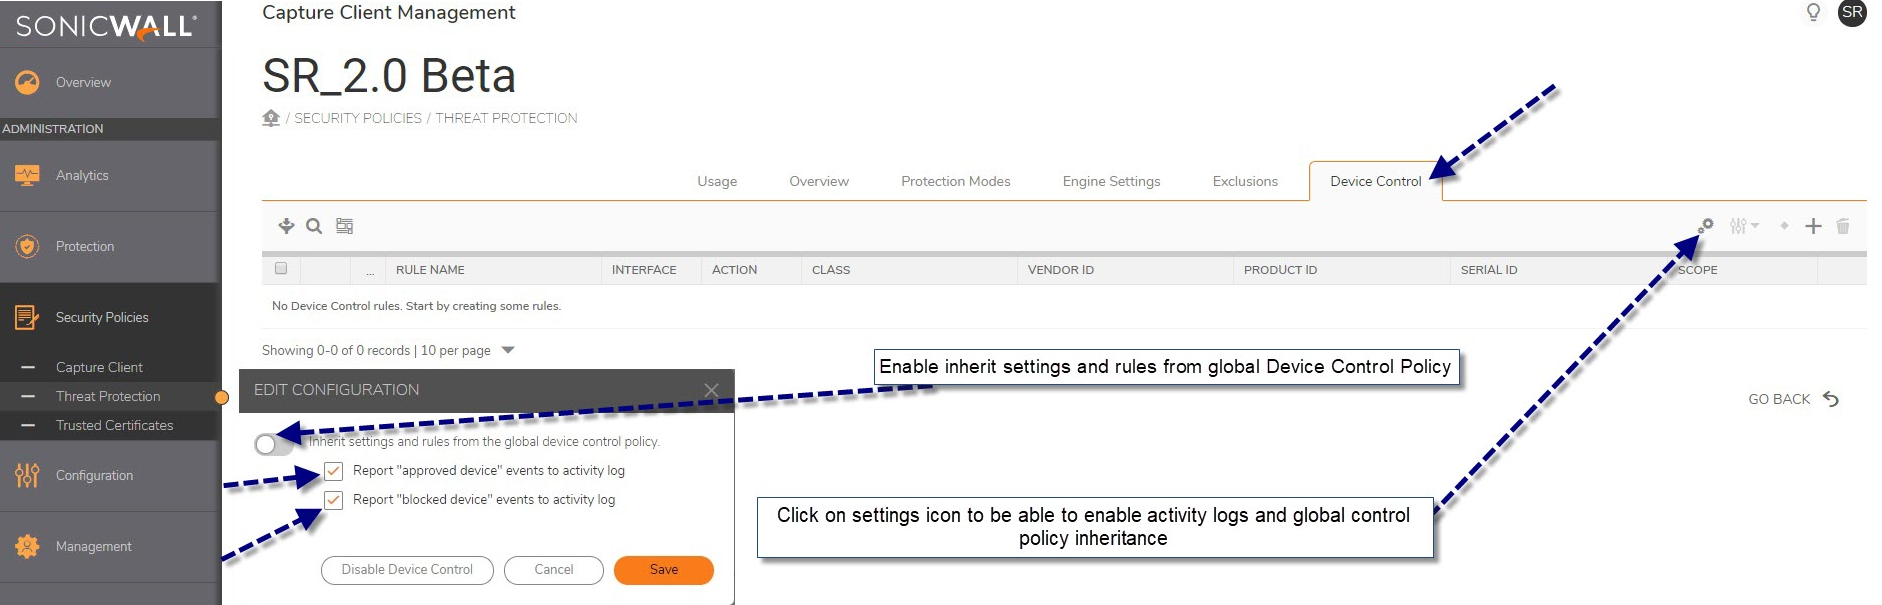
2. Navigate to Device control tab on Threat Protection Policy (SR_2.0 Beta) and click on settings icon to be able to enable activity logs and Device Control policies inheritance from global/tenant level Policies, make necessary changes and click on save.
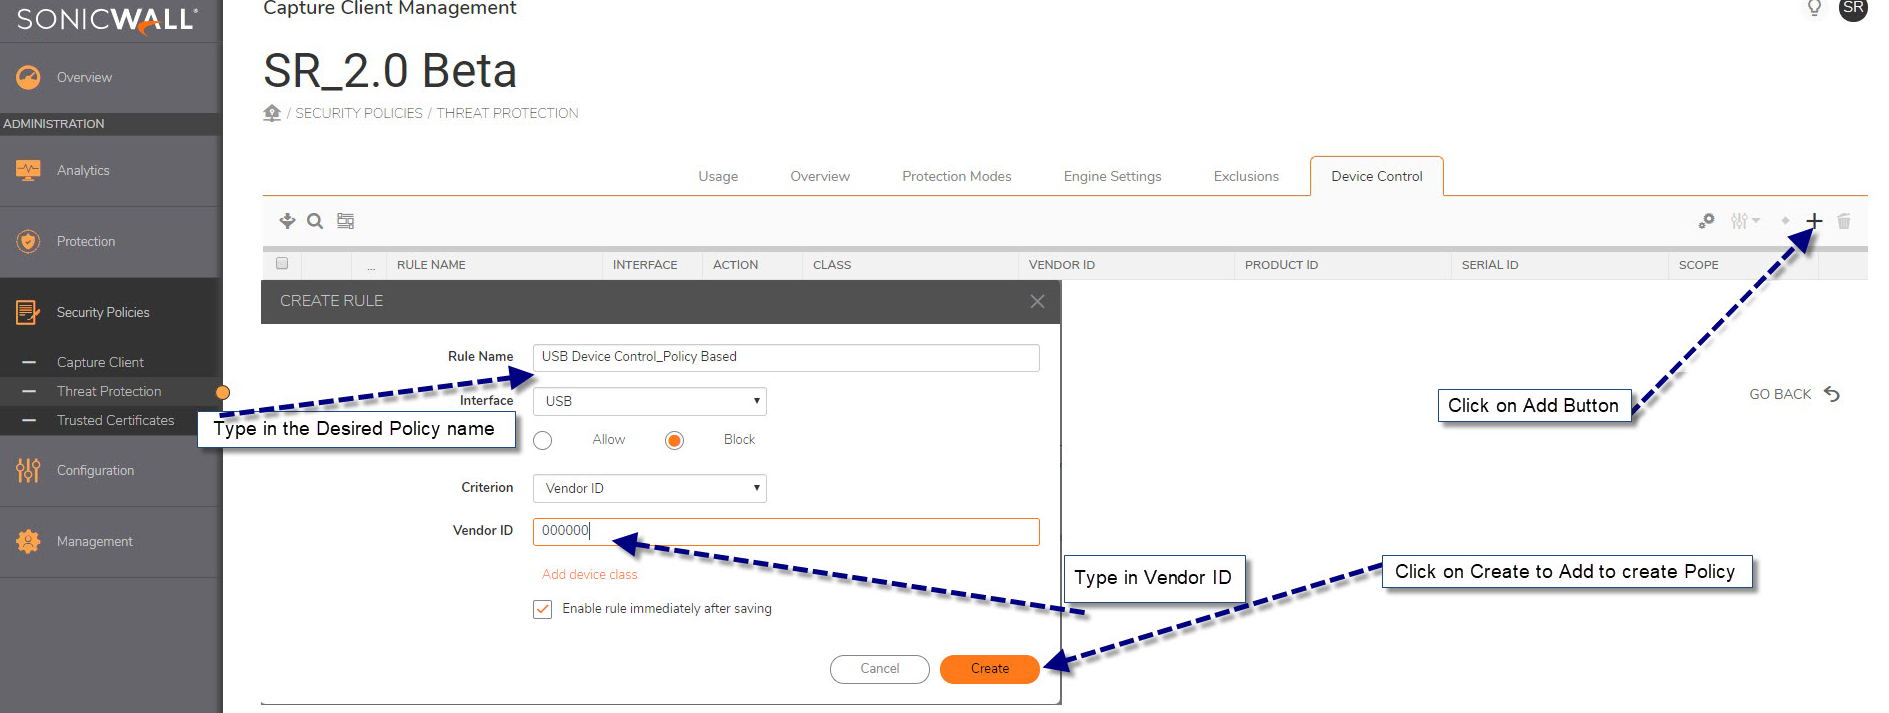
3. Click on small Add button under Threat Protection Policy>Device Control Tab and enter required information (ex: policy name, Device/Vendor ID etc) and click on create tab to save the changes.
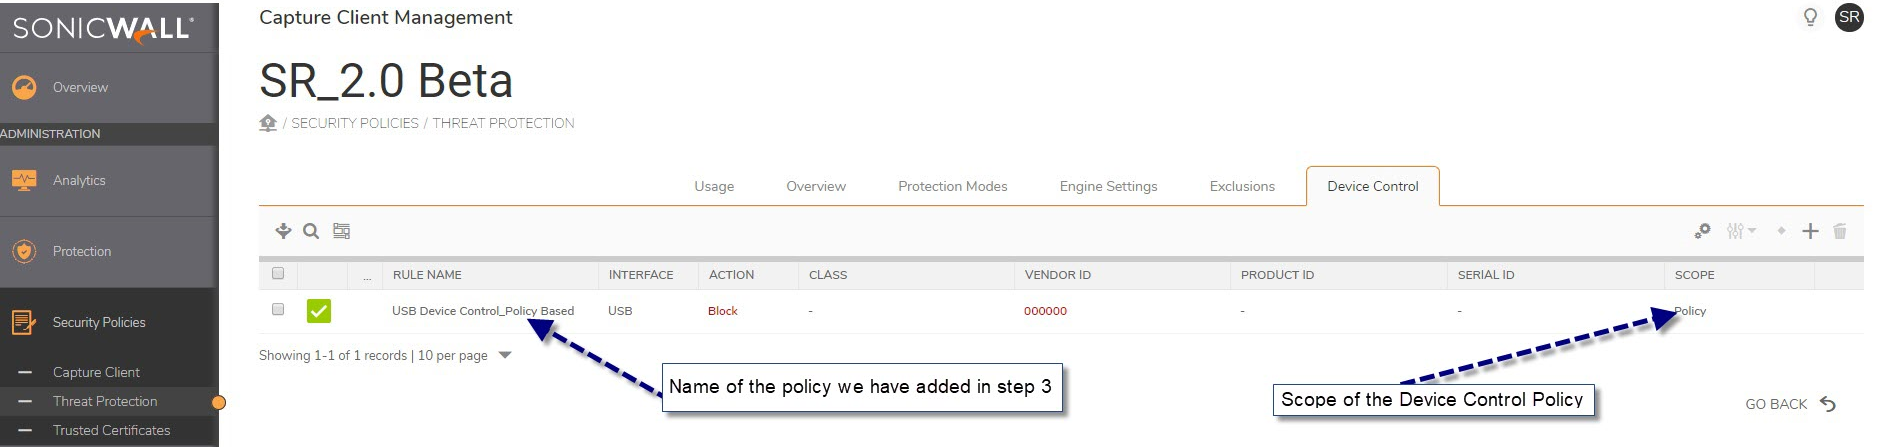
4. Verify that the Policy based Device Control Policy has been added successfully.
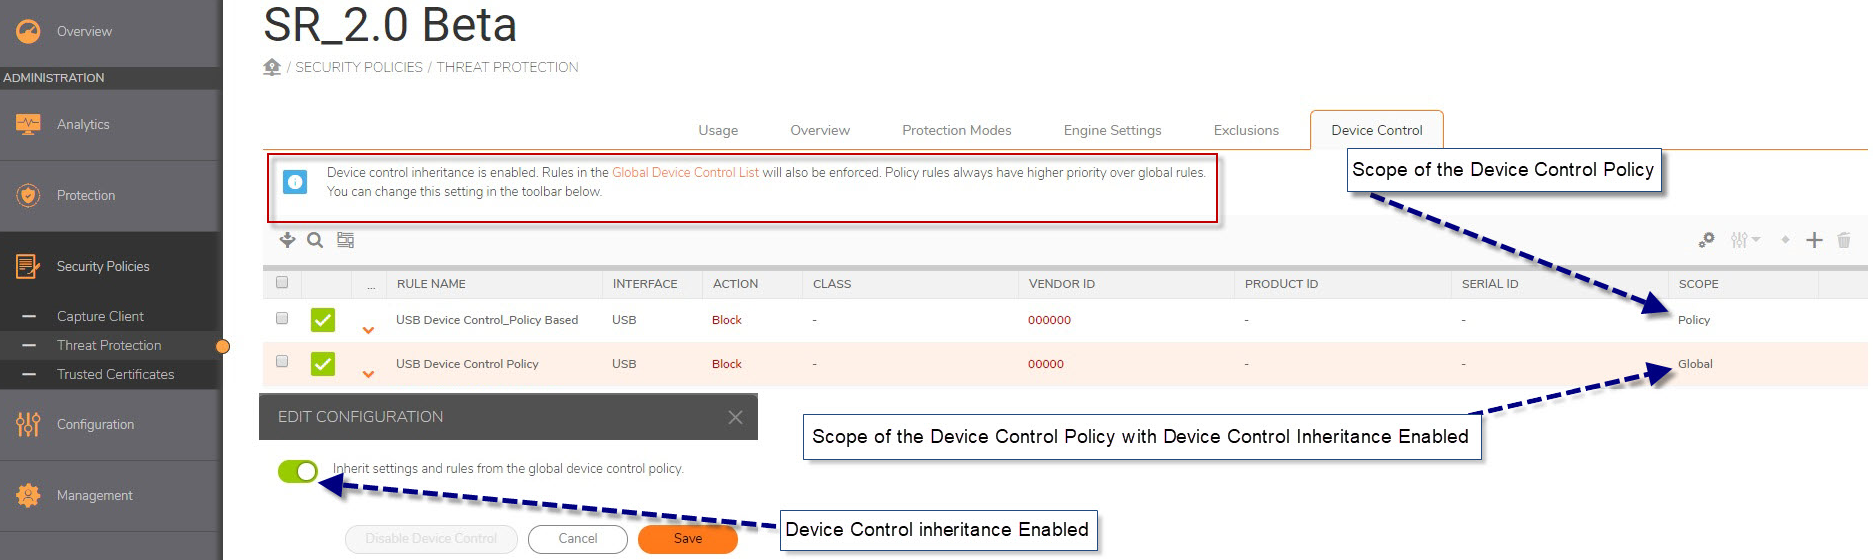
Note: If you have "Inherit settings and rules from the global device control policy" enabled under Threat Protection Policy all your global DEvice control POlicies will also be listed and applied under that specific Policy
Please Note: Policy Name, Device/Vendor ID used here is reference purpose only, please contact SonicWall Tech Support if you have any questions
Related Articles
- Upgrading Capture Client on Linux endpoints
- Capture Client technical FAQs
- Capture Client - System Requirements
 YES
YES NO
NO