-
Products
-
SonicPlatform
SonicPlatform is the cybersecurity platform purpose-built for MSPs, making managing complex security environments among multiple tenants easy and streamlined.
Discover More
-
-
Solutions
-
Federal
Protect Federal Agencies and Networks with scalable, purpose-built cybersecurity solutions
Learn MoreFederalProtect Federal Agencies and Networks with scalable, purpose-built cybersecurity solutions
Learn More - Industries
- Use Cases
-
-
Partners
-
Partner Portal
Access to deal registration, MDF, sales and marketing tools, training and more
Learn MorePartner PortalAccess to deal registration, MDF, sales and marketing tools, training and more
Learn More - SonicWall Partners
- Partner Resources
-
-
Support
-
Support Portal
Find answers to your questions by searching across our knowledge base, community, technical documentation and video tutorials
Learn MoreSupport PortalFind answers to your questions by searching across our knowledge base, community, technical documentation and video tutorials
Learn More - Support
- Resources
- Capture Labs
-
- Company
- Contact Us
SonicWall Swagger API Getting Started


Description
What is Swagger?
Swagger UI allows anyone — be it your development team or your end consumers — to visualize and interact with the API’s resources without having any of the implementation logic in place. It’s automatically generated from your OpenAPI (formerly known as Swagger) Specification, with the visual documentation making it easy for back end implementation and client side consumption. (https://swagger.io/tools/swagger-ui/)
Use the following KB article to enable the firewall’s API and access the Swagger webpage:
- Introduction to SonicOS API (Introduction to SonicOS API)
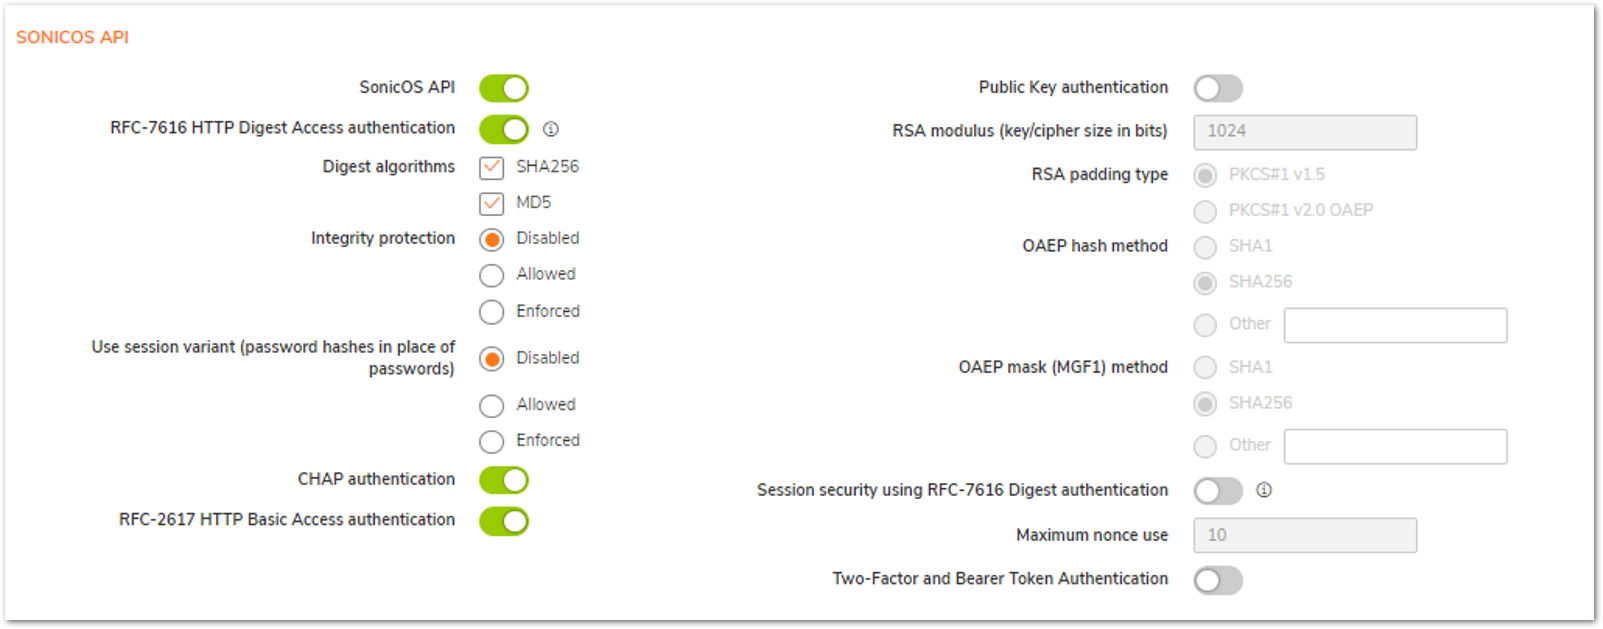
- Enable Two-Factor and Bearer Token Authentication, under Device|Settings|Administration|Audit/SonicOS API |Two-Factor and Bearer Token Authentication (applies to built-in admin and local user with TOTP only, post sonicos/tfa directly instead of sonicos/auth)
- Access the firewall’s custom API address from, HOME|API|Hyperlink under SONICWALL SONICOS API AGREEMENT section.
In this article, we will be accessing the API exclusively through the Swagger page.
The first thing we will need to do is authenticate to the firewall. To do this through Swagger, we will need to make sure that Two-Factor and Bearer Token Authentication was configured in the previous steps described in the “Introduction to SonicOS API” KB article above.
Swagger only supports the Two-Factor and Bearer Token Authentication method, but if using the API directly (via curl or an API tool like Postman) any of the methods listed in the firewall menu will work.
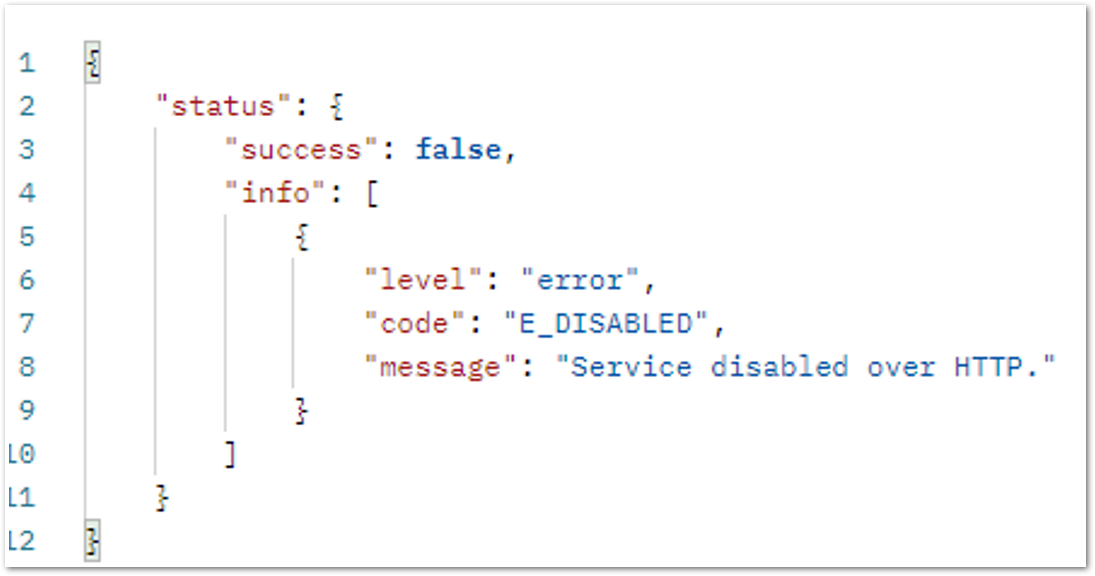
The Swagger UI for SonicWall firewalls can only be accessed over HTTPS and direct API access will also require HTTPS to operate:
Once After you have completed the steps above, we can start the authentication process from within the Swagger UI. The authentication process will involve steps 1-3 below:
- Step1: POST "tfa" with your username, password, and two-factor code to the firewall. If you are authenticating a username for the first time, please login to the GUI and scan the QR code to activate two-factor authentication.
- Step2: The Bearer Token is returned in response to the "tfa" message. Copy the Bearer Token to the "Authorize" button.
- Step3: DELETE "auth" to logout of the current session.
Example use cases for Swagger API:
- Example1: Retrieving the firewall’s “current configuration”
Step1:
- Find the “tfa” section and click in the green area to expand the selection

- Once expanded, click on the “Try it out” button to gain access to the sample code:

- You will now be able to edit the sample code within the page. Change the string values to your username, password, and your 2FA code:

- Once the correct strings have been added, click the “Execute” button below the code window to send the request to the firewall:

Step2:
- After execution, the required “bearer” token will be displayed in the “response body” of the “server response”. Copy the Bearer Token for the next step:

Now that we have the Bearer Token copied, go back to the top of the Swagger page to locate the <Authorize> button and click it:

The “Available authorizations” pop-up will now appear, and the Bearer Token will need to be entered. Paste in the copied data and click the <Authorize> button:

- If successful, the following should be displayed:

Step3:
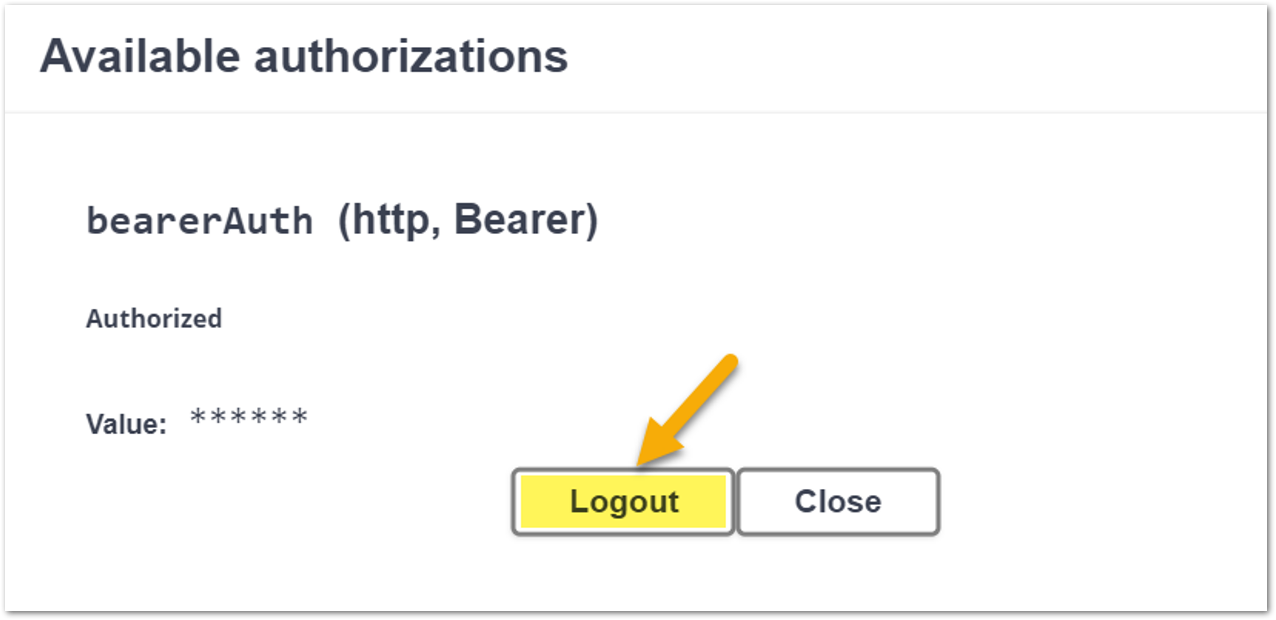
- When done working with Swagger, remember to logout. To logout, find the authorize button near the top of the page and click it, then click <logout> in the Available authorizations pop-up:

 NOTE: Clicking <Logout> in the pop-out above in Swagger, sends the following command to the API for you in the background: curl --location --request DELETE ‘https://{IP}:{PORT}/api/sonicos/auth’
 - Once authenticated, you can use any of the commands listed on the Swagger page by clicking their respective <Try it out> buttons and modifying the sample texts if needed.
Example 1:
- Retrieving the current config example:

- Click Execute:

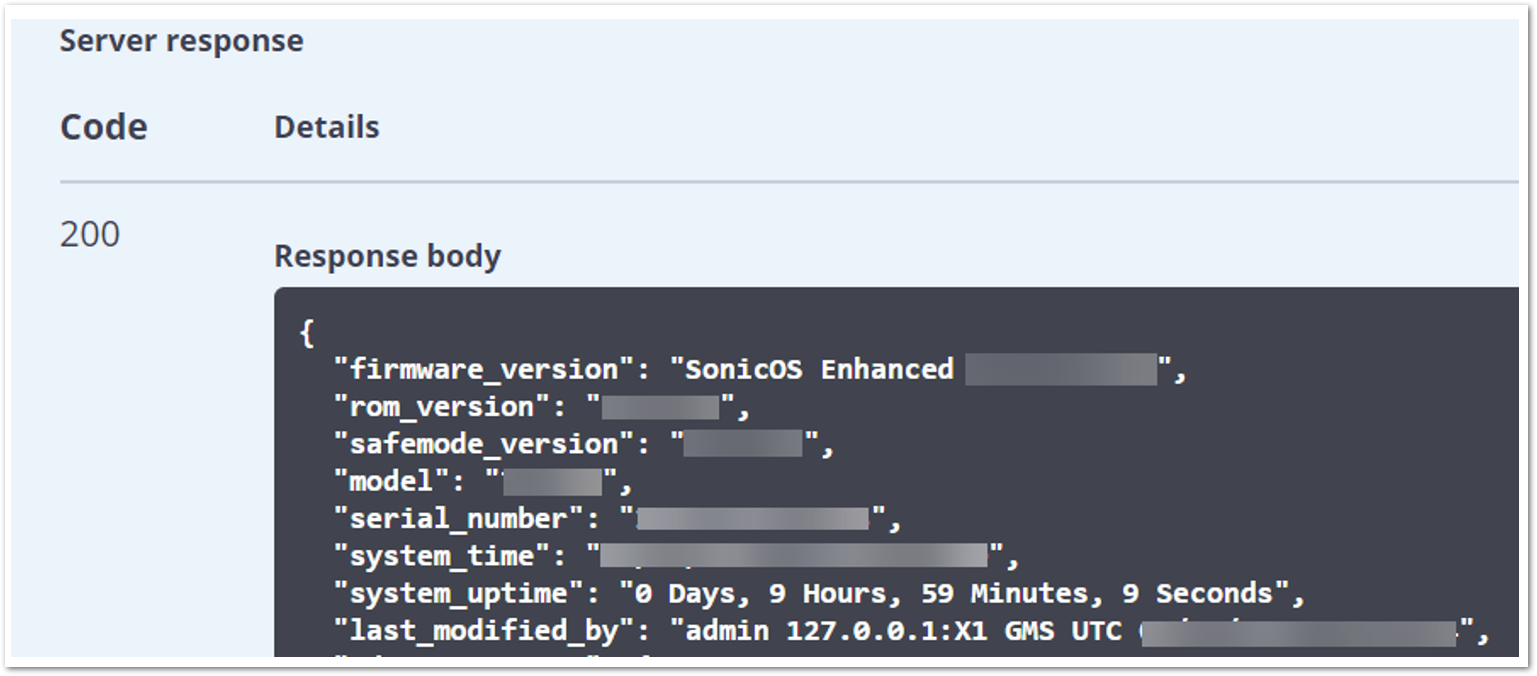
- The results will be displayed in the Server response section:

Related Articles
- How to Block Google QUIC Protocol on SonicOSX 7.0?
- How to block certain Keywords on SonicOSX 7.0?
- How internal Interfaces can obtain Global IPv6 Addresses using DHCPv6 Prefix Delegation


 YES
YES NO
NO