-
Products
-
SonicPlatform
SonicPlatform is the cybersecurity platform purpose-built for MSPs, making managing complex security environments among multiple tenants easy and streamlined.
Discover More
-
-
Solutions
-
Federal
Protect Federal Agencies and Networks with scalable, purpose-built cybersecurity solutions
Learn MoreFederalProtect Federal Agencies and Networks with scalable, purpose-built cybersecurity solutions
Learn More - Industries
- Use Cases
-
-
Partners
-
Partner Portal
Access to deal registration, MDF, sales and marketing tools, training and more
Learn MorePartner PortalAccess to deal registration, MDF, sales and marketing tools, training and more
Learn More - SonicWall Partners
- Partner Resources
-
-
Support
-
Support Portal
Find answers to your questions by searching across our knowledge base, community, technical documentation and video tutorials
Learn MoreSupport PortalFind answers to your questions by searching across our knowledge base, community, technical documentation and video tutorials
Learn More - Support
- Resources
- Capture Labs
-
- Company
- Contact Us
Install On-Prem NSM on Azure.


Description
On-Prem NSM can be installed on your Azure server. This KB explains the steps needed.
Resolution
Steps to install On-Premises NSM by deploying NSM file on your Azure server. The NSM for Azure is available on the Microsoft Azure Marketplace:\
1. Navigate to the Azure services portal.
2. Select Marketplace.
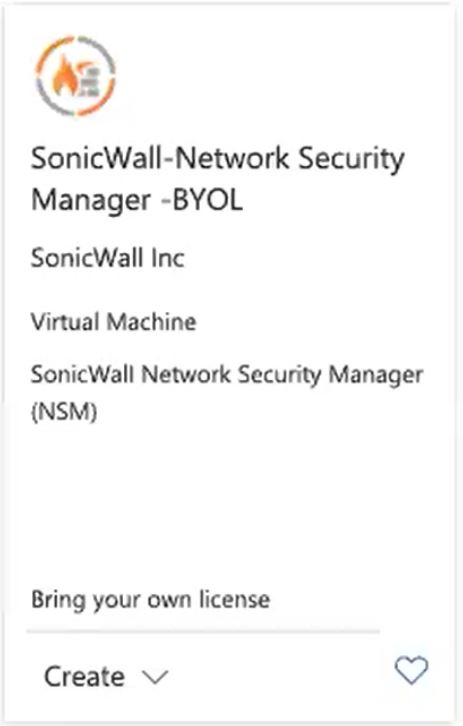
3. Find the SonicWall Network Security Manager tile and select Create.
4. On the Basics tab to Create a virtual machine, select Create new in the Resource group field:
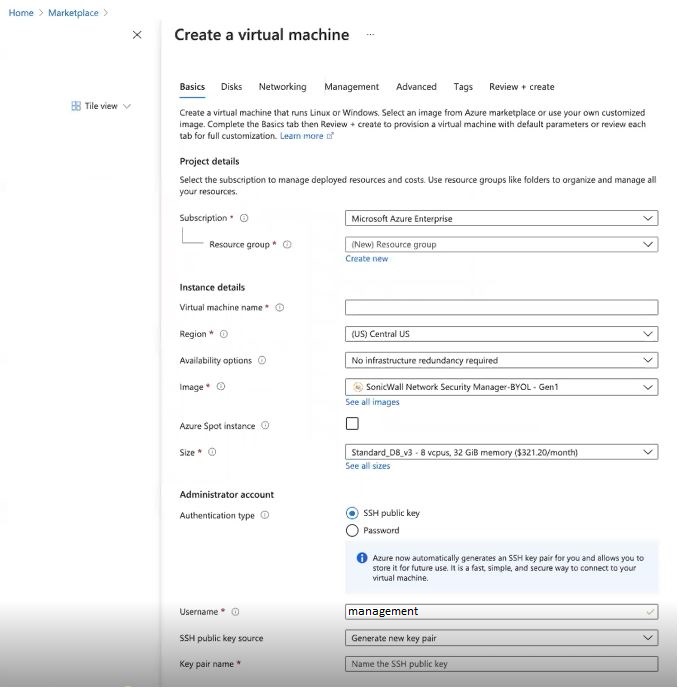
5. Type an easy-to-identify name in the Name field and click OK.
6. Enter the Virtual machine name. It can be the same as the Resource group name, if you want.
7. Set the Region.
8. From the Image drop-down list, select the SonicWall Network Security Manager -BYOL.
9. Leave Azure Spot instance unchecked.
10. Select the size of your virtual machine. The recommended sizes have been tested with NSM.
11. In Authentication type, select Password.
12. Define the Username and Password and Confirm password.
- The Username has to be set to management.
- The password can be between 12 and 72 characters long.
- The password must be made up of three of the following: one lower case letter, one uppercase letter, one number, one special character.
13. Click Next : Disks >
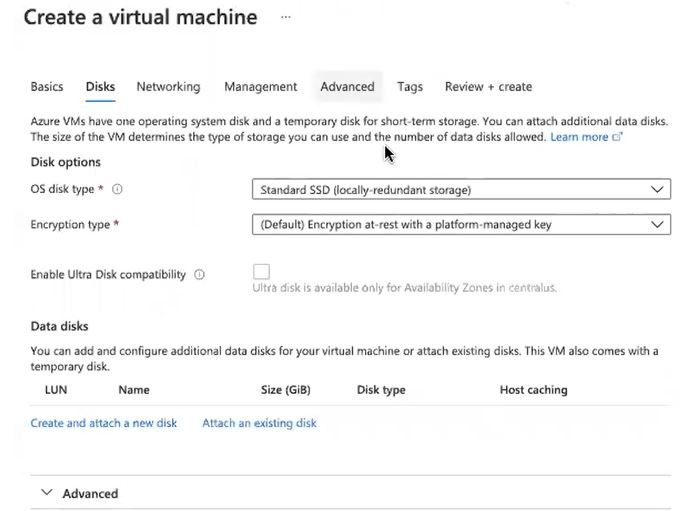
14. Use the defaults on the Disks tab.
15. Click Next : Networking >.
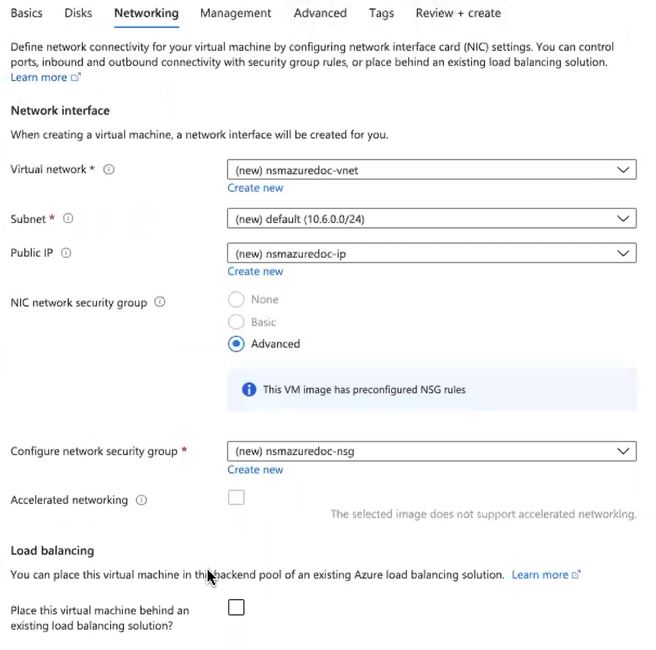
16. Configure the network settings for your environment. The default settings can also work.
17. Click Next : Management >.
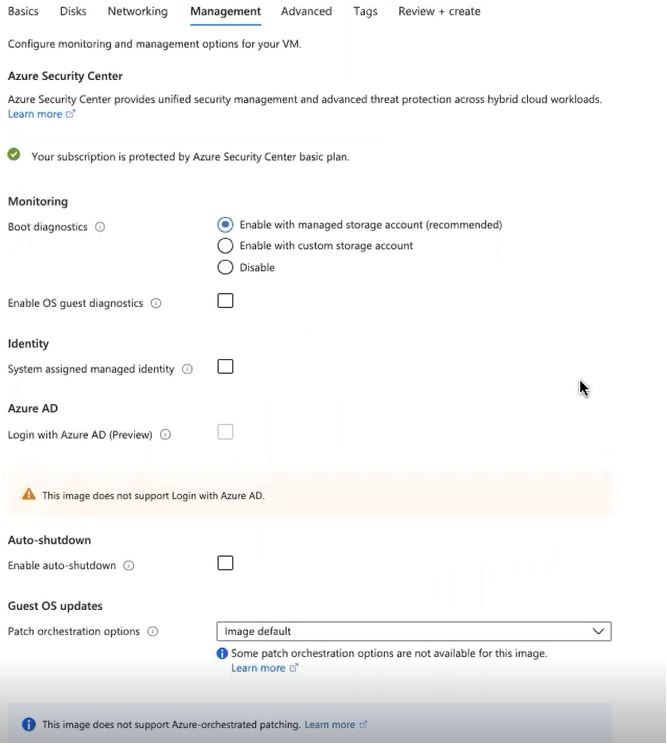
18. Set the management options as you want for your implementation. The default settings can also work.
19. Click Next : Advanced >.
20. Keep the defaults on the Advanced tab.
21. Click Next : Tags >

22. Define tags for you NSM instance. Using easy-to-remember tags can help you when searching a long list of Virtual Machines for a particular instance. You can set the Value the same as the Name.
23. Click Next : Review = Create >.
24. Review the settings that make up your VM to ensure accuracy. Click Previous to make corrections on prior tabs, if necessary.
25. Click Create to validate your VM and create the NSM instance. This step a few minutes to complete.
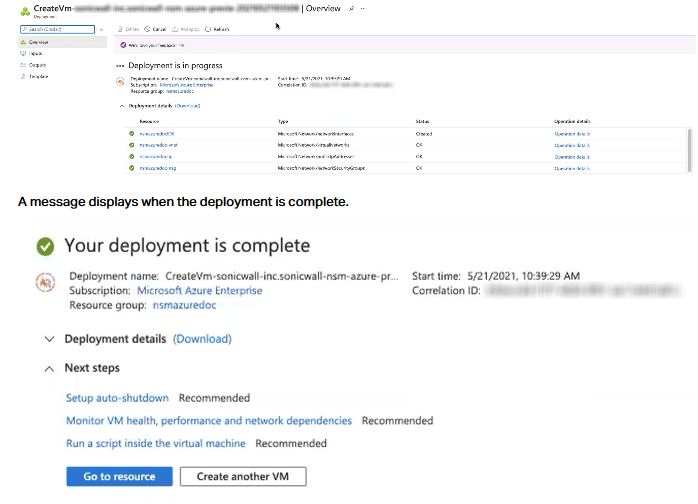
26. Click Go to resource from the deployment complete page.
27. Select Serial Console from the left navigation pane.
If the system returns a message indicating a possible issue, click on Boot diagnostics to see what the issue might be. The VM may still be running some background processes and may not be available yet. You can monitor progress on the console. When the issue resolves the NSM Management Console appears.
28. Navigate to Overview.
29. Copy the IP address and paste it into a browser window. If the window returns an error, that's an indicator that deployment activity is still taking place.
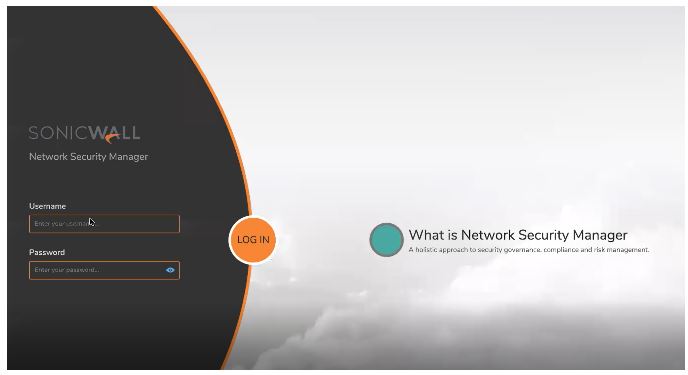
When the activity is complete, the NSM login banner appears.
The default login for Web Management login is :
Username: admin
Password: password
Related Articles
- Creating a license subscription report in GMS 9.3
- How to create SSLVPN login reports with Syslog GMS/Analytics
- Can I review, accept and deny the GMS changes before pushing to firewalls with workflow license?


 YES
YES NO
NO