How to deploy GMS 9.3 on a Virtual Appliance?
Description
This article will explain the following:
1. Steps to Deploy the GMS 9.3 Virtual appliance OVA template.
2. Configure Host Settings on the Console and accessing GMS Virtual appliance using Web browser.
3. Configuring the GMS System.
Resolution
Before You Begin
Review these sections for information before installing your SonicWall GMS Virtual Appliance:
• System Requirements
• Installation Quick Start
System Requirements
The SonicWall GMS Virtual Appliance comes with a base license to manage either 5, 10, or 25 nodes. You can
purchase additional licenses on MySonicWall.
For more information on licensing additional nodes, visit:
https://www.sonicwall.com/en-us/support/contact-support/licensing-assistance
To determine the hardware requirements for your deployment, use the Capacity Planning Tool at:
https://www.sonicwall.com/gms-capacity-planning-tool/
.
| System Requirement | Minimum Requirements | |
| SonicWall GMS Virtual Appliance | • A CPU greater than quad core level | |
| • 16 GB RAM (more is recommended for increased performance) | ||
| • 40 GB, 250 GB, or 950 GB available disk space (depending on number of devices) | ||
| • thick provisioning | ||
| Hard Drive | • Spindle Speed: 10,000 RPM or higher | |
| • Cache: 64 MB or higher | ||
| • Transfer rate: 600 MBs or higher | ||
| • Average Latency: 4 microseconds or lower | ||
| Network | • access to the Internet | |
| • either: | ||
| • an IP address automatically assigned through DHC | ||
| • a static IP address |
Steps to deploy GMS 9.3 on a Virtual Appliance running on a ESXi Server:
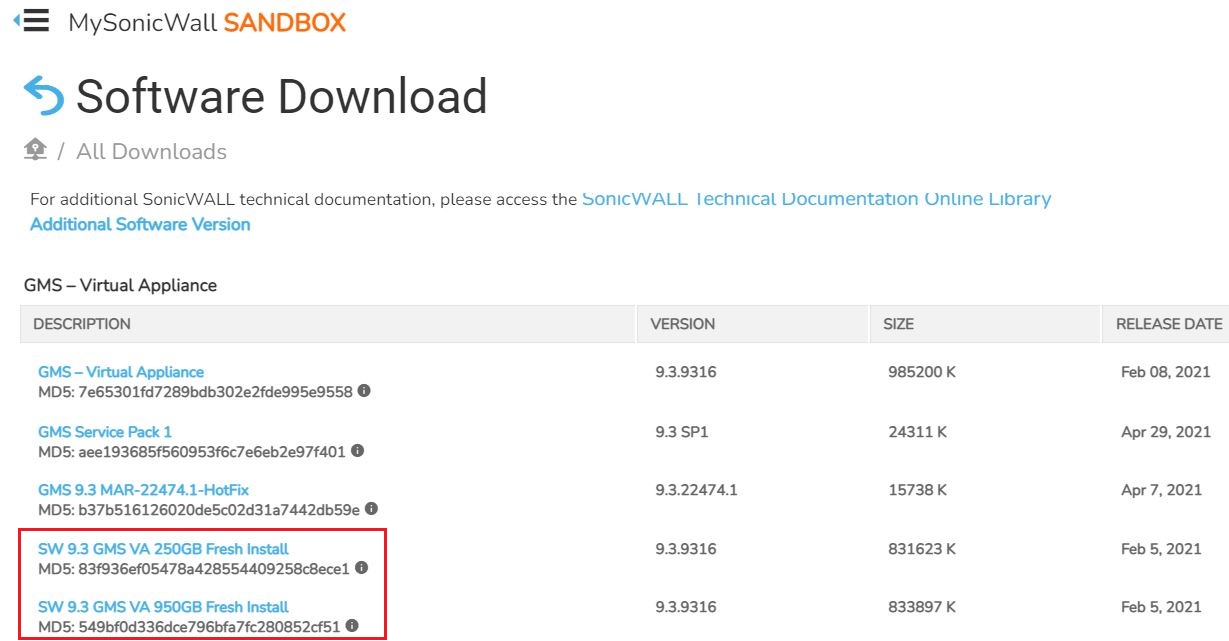
1. Login to mysonicwall.com and go to Resources & Support->Download Center->Look for GMS-Virtual Appliance in SW type. The latest release is GMS 9.3.9316.
For Fresh install, choose one of the following two highlited options based on the disk size and donwload:
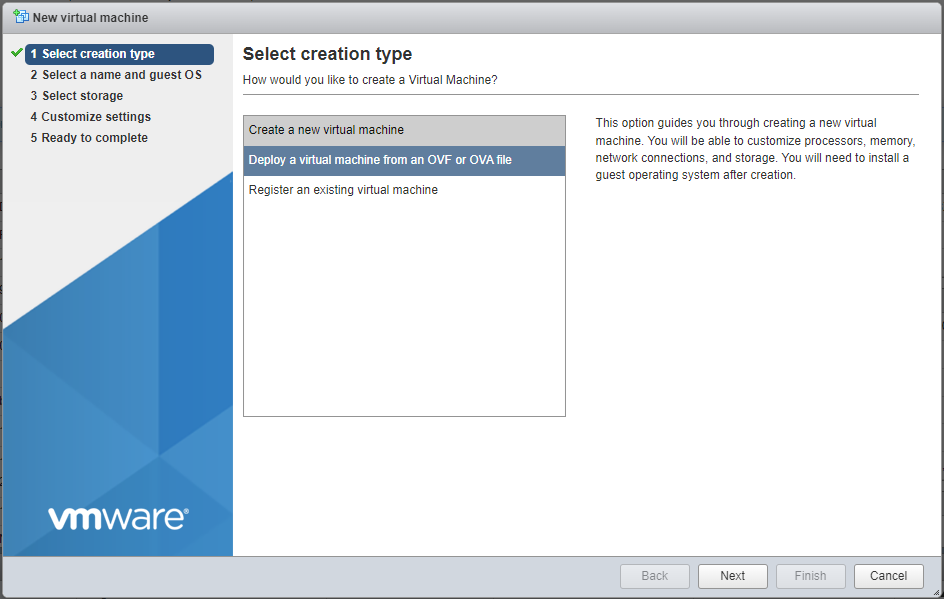
2. Login to the Vcenter. Go to the ESXi host where the GMS VA has to be created. Click on Create /Register VM. This will Launch a Wizard.
"Select Deply a Virtual Machine from an OVF or OVA file" and click Next.
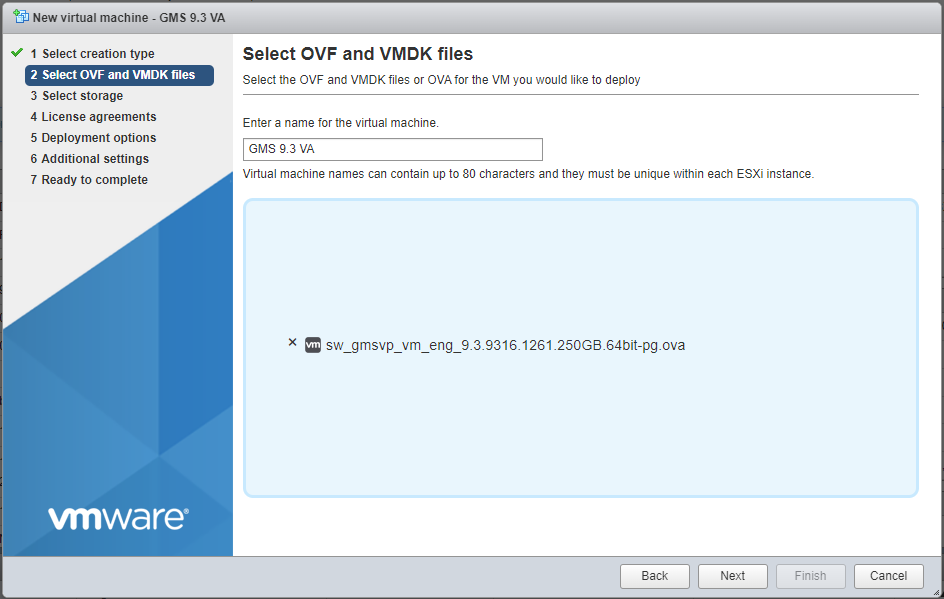
3. Mention the name for the Virtual Appliance and browser the file from step1:
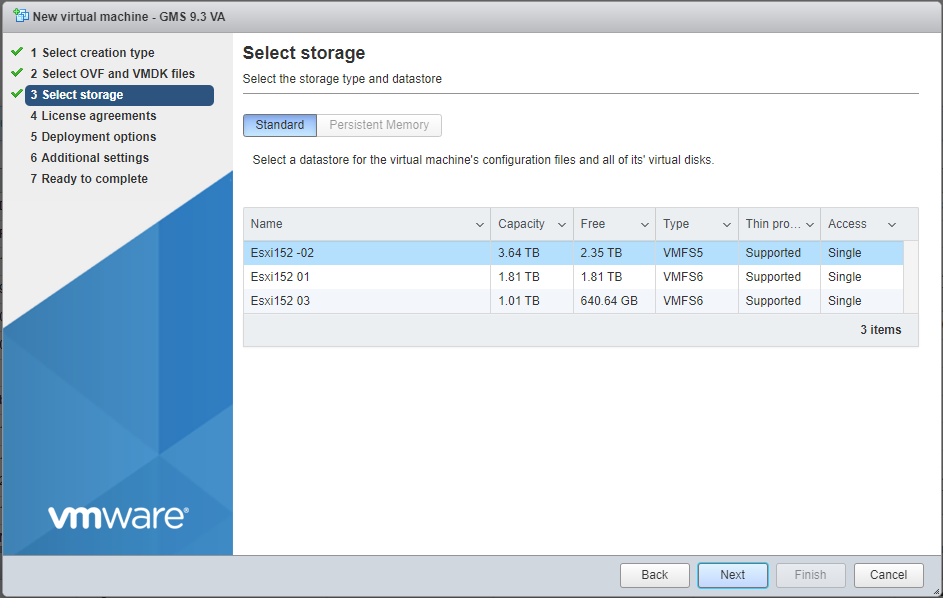
4. Select the Storage:
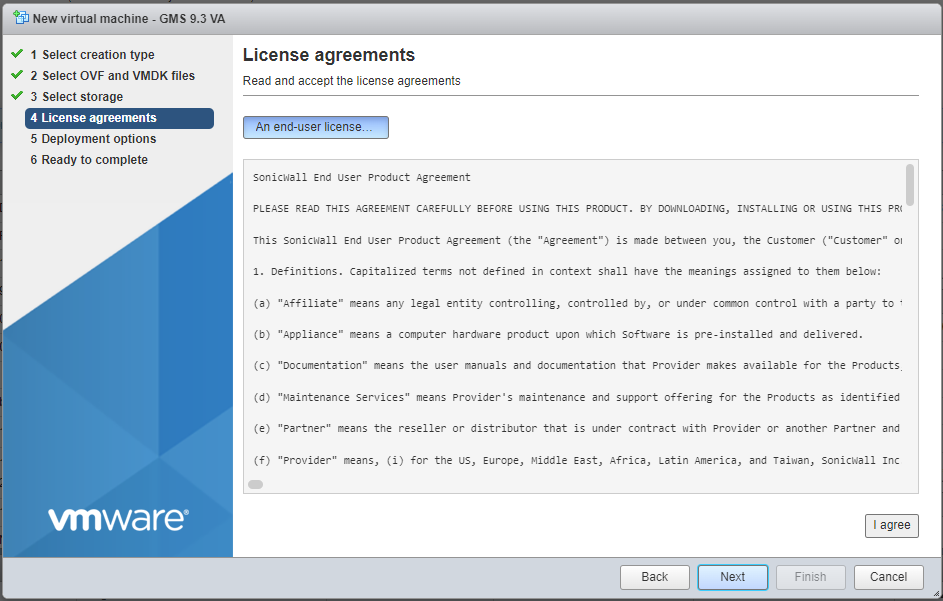
5. Accept the License Agreement.
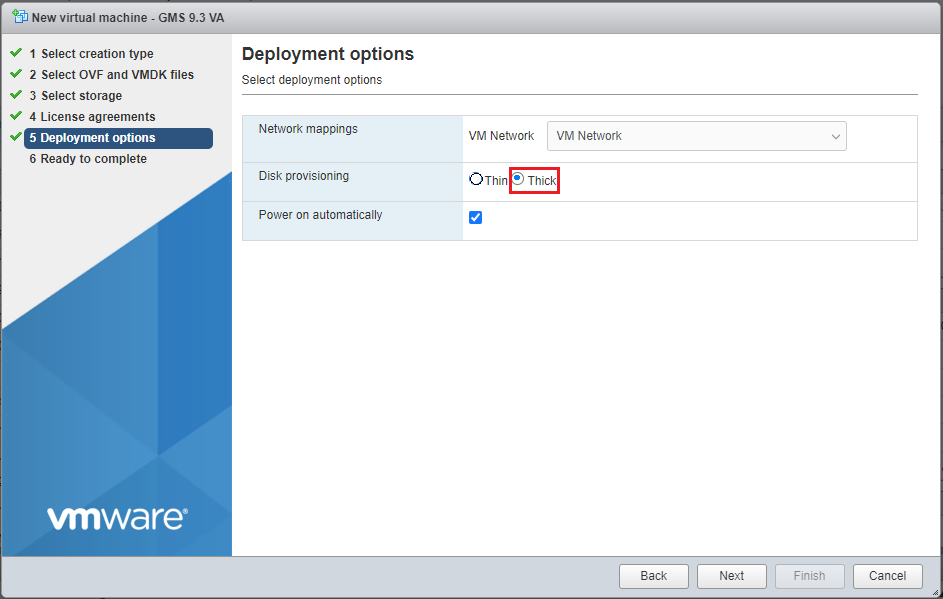
6. Sonicwall Recommends Thick Provisioning, but any selection works. Choose Thick Provisioning and click Next.
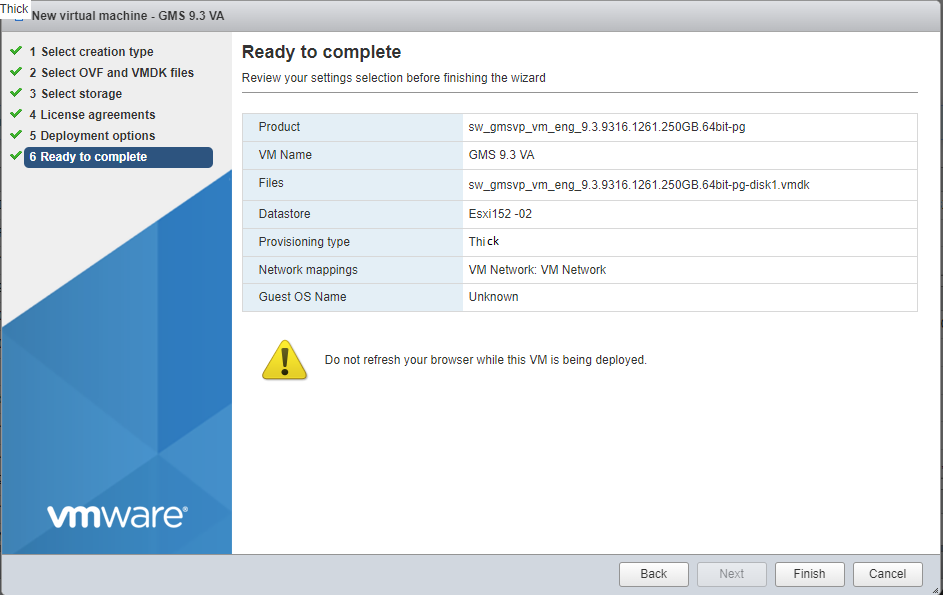
7. Review your settings selection before finishing the wizard.
Configure Host Settings on the Console:
1. Power on your GMS virtual appliance in the vSphere or vCenter interface and launch the Web Console.
2. After powring on the GMS Virtual applinace, you need to configure its network settings.
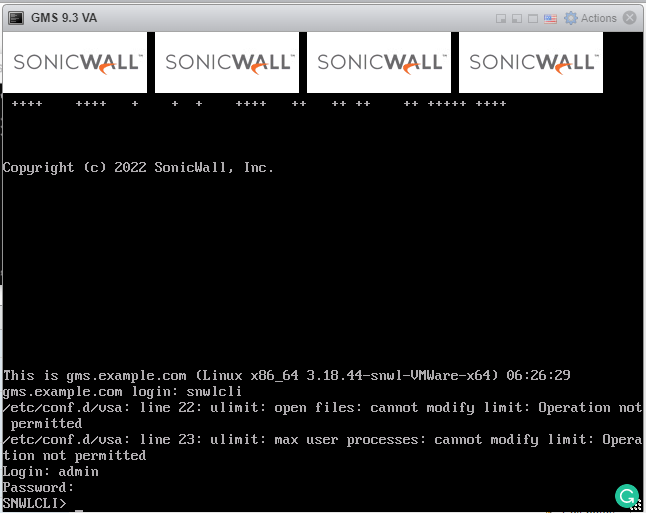
When the console window opens, click inside the window, type snwlcli at the login: prompt and Press Enter:
The console might display warning messages that can be ignored, and then displays a second Login:
prompt. Type admin at the Login: prompt and Press Enter.
Enter password at the Password: prompt and Press Enter.
The SNWLCLI> prompt is displayed
3. Configure the local IP address for the virtual appliance by entering the following command, substituting
your IP address and subnet mask for the values shown here:
interface eth0 10.67.1.163 255.255.255.0
Configure the default route for the virtual appliance by typing the following command, substituting your
gateway IP address for the value shown here:
route --add default --destination 10.67.1.1
You can test connectivity by pinging another server or your main gateway, for example:
ping 8.8.8.8
Press Ctrl+c to stop pinging.
Close the console window by clicking the X.
Rest of the configuration for GMS Virtual Appliance willl be done once connected on the Web Interface.
Configuring the System: Follow the KB: Configuring GMS Virtual Appliance, Single Server Deployment