-
Products
-
SonicPlatform
SonicPlatform is the cybersecurity platform purpose-built for MSPs, making managing complex security environments among multiple tenants easy and streamlined.
Discover More
-
-
Solutions
-
Federal
Protect Federal Agencies and Networks with scalable, purpose-built cybersecurity solutions
Learn MoreFederalProtect Federal Agencies and Networks with scalable, purpose-built cybersecurity solutions
Learn More - Industries
- Use Cases
-
-
Partners
-
Partner Portal
Access to deal registration, MDF, sales and marketing tools, training and more
Learn MorePartner PortalAccess to deal registration, MDF, sales and marketing tools, training and more
Learn More - SonicWall Partners
- Partner Resources
-
-
Support
-
Support Portal
Find answers to your questions by searching across our knowledge base, community, technical documentation and video tutorials
Learn MoreSupport PortalFind answers to your questions by searching across our knowledge base, community, technical documentation and video tutorials
Learn More - Support
- Resources
- Capture Labs
-
- Company
- Contact Us
CSE Getting Started: Create A Tunnel Policy


Description
Policies in CSE are used to negotiate user access to resources. Each policy can contain multiple rules or "Access Groups". Each policy will include all Access Groups to grant the most amount of access allowed by the policy. Meaning if there is a conflicting rule set, the Allow rules will win.
Resolution
To begin this procedure, please log into the CSE Command Center.
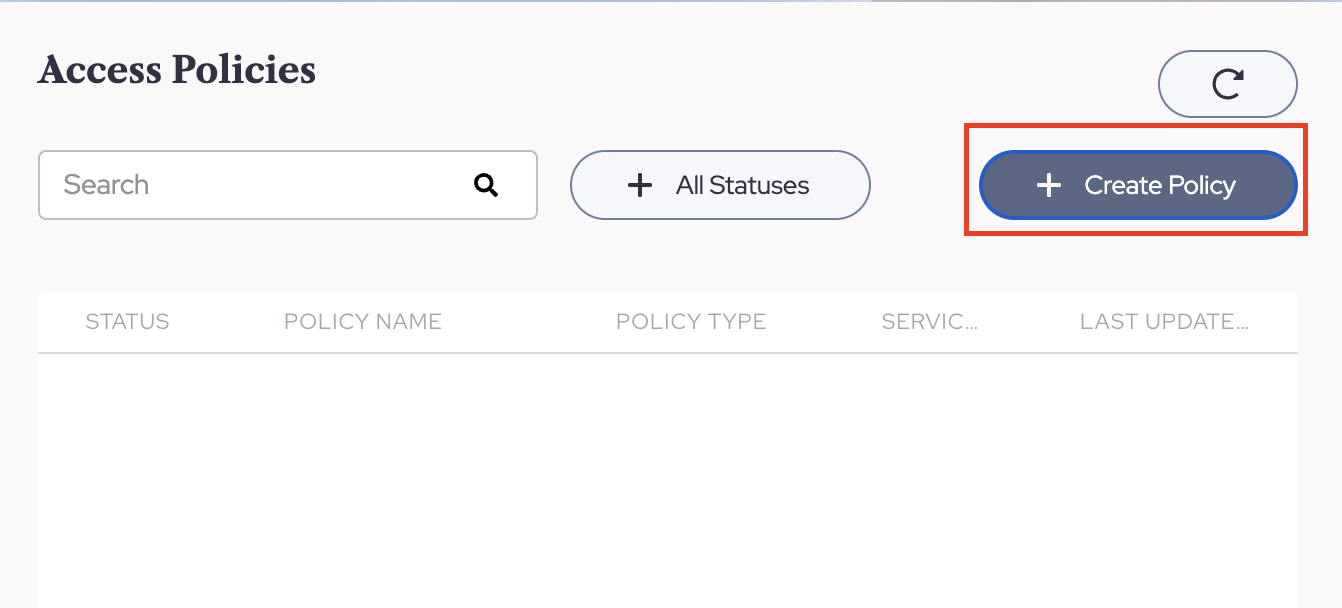
- Navigate to the Private Access |Access Policies page and choose Create Policy.
and select Tunnel Policy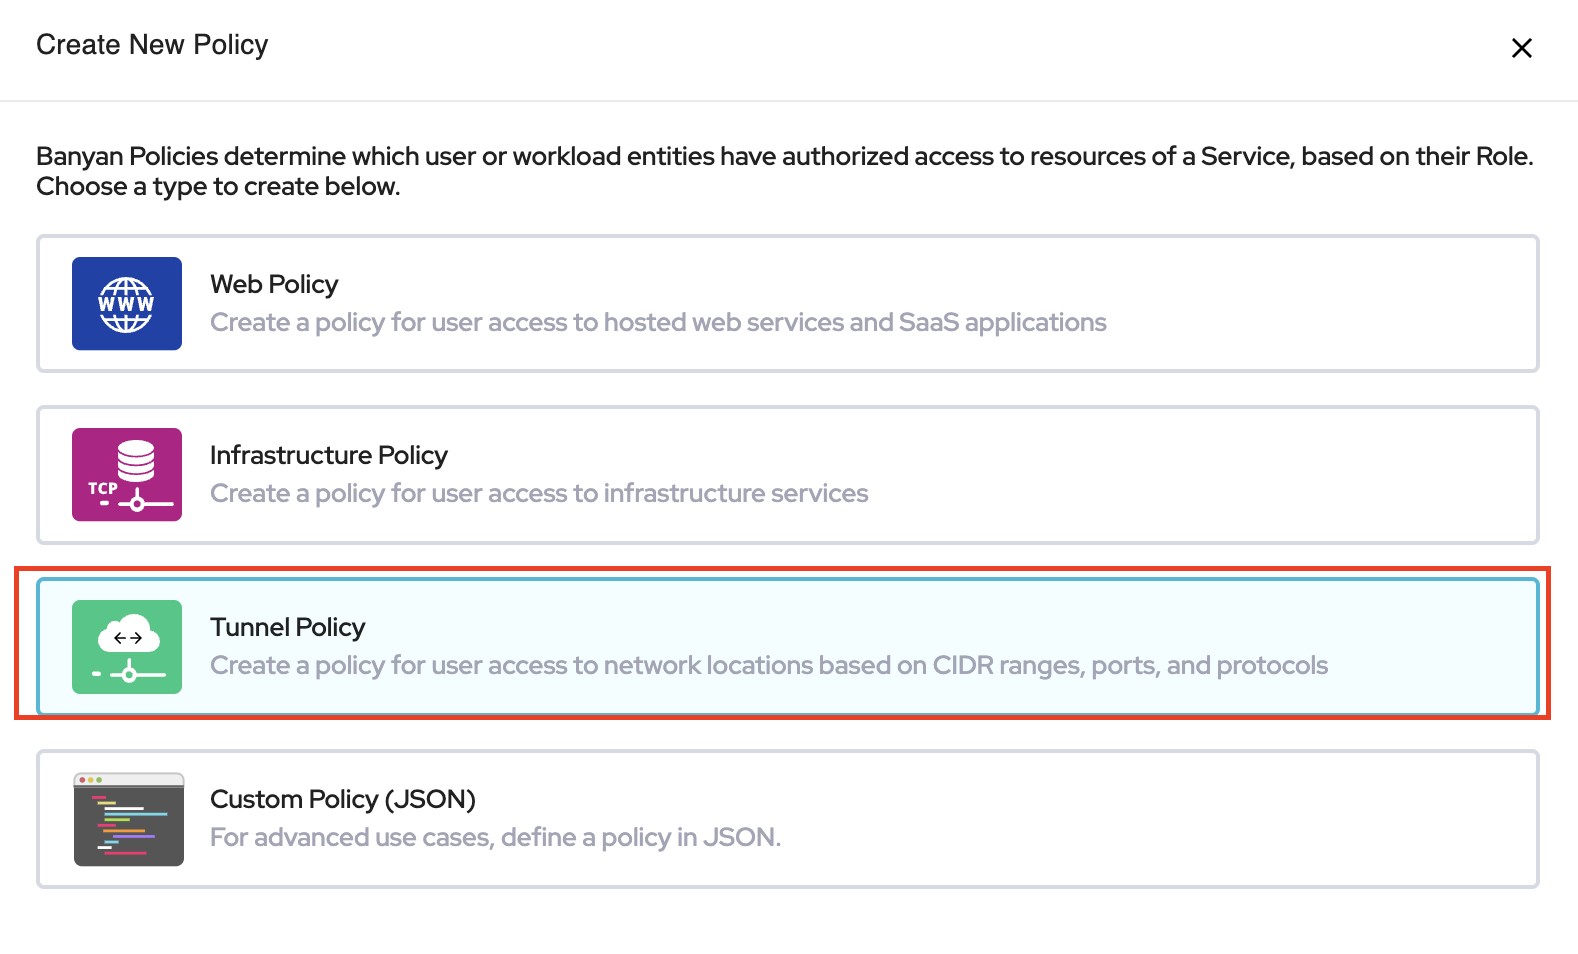
- Next, give the Policy a name and a Description to track its purpose. Continuing from Part Four, we will be using a Security Team as an example.
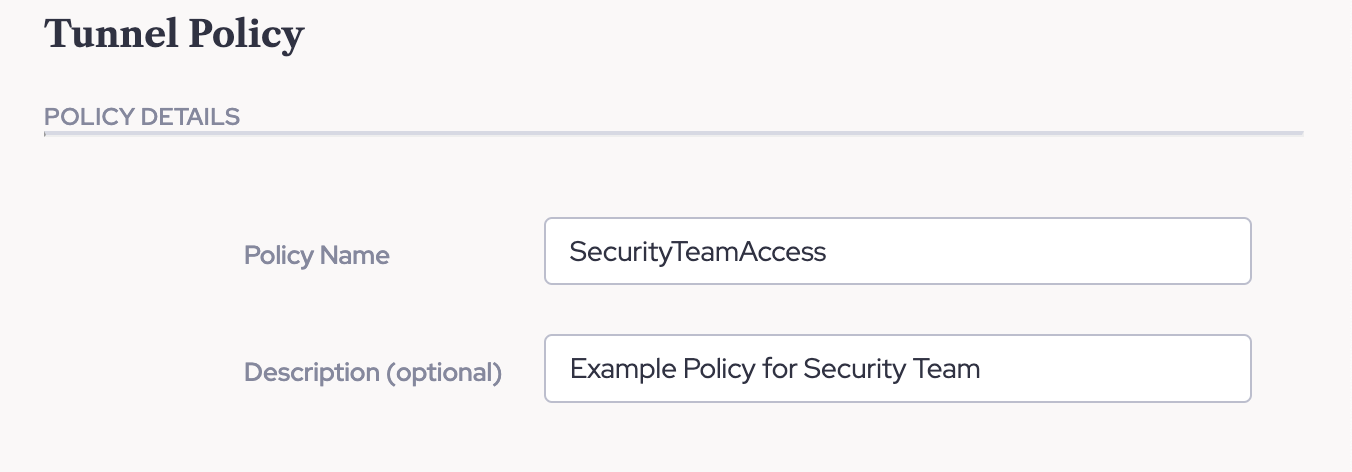
- Then scroll below to begin the configuration of your first Access Group. The Access Group defines a set of rights to allow or deny access to a specific Role. (See Part Four)
Your first option will be to set the desired Trust Level. This is the level of trust a user's device must achieve before being granted access. We will cover this in more detail in Part Seven of the CSE Getting Started Series. At this time select "Any Trust Level except 'Always Deny'" to ensure your device's security posture does not interrupt the validation of this series. NOTE: In a production environment, it is HIGHLY recommended to configure this to require at least a Medium score.
- The following option is to Select a Role. Select the Role you created in Part Four.

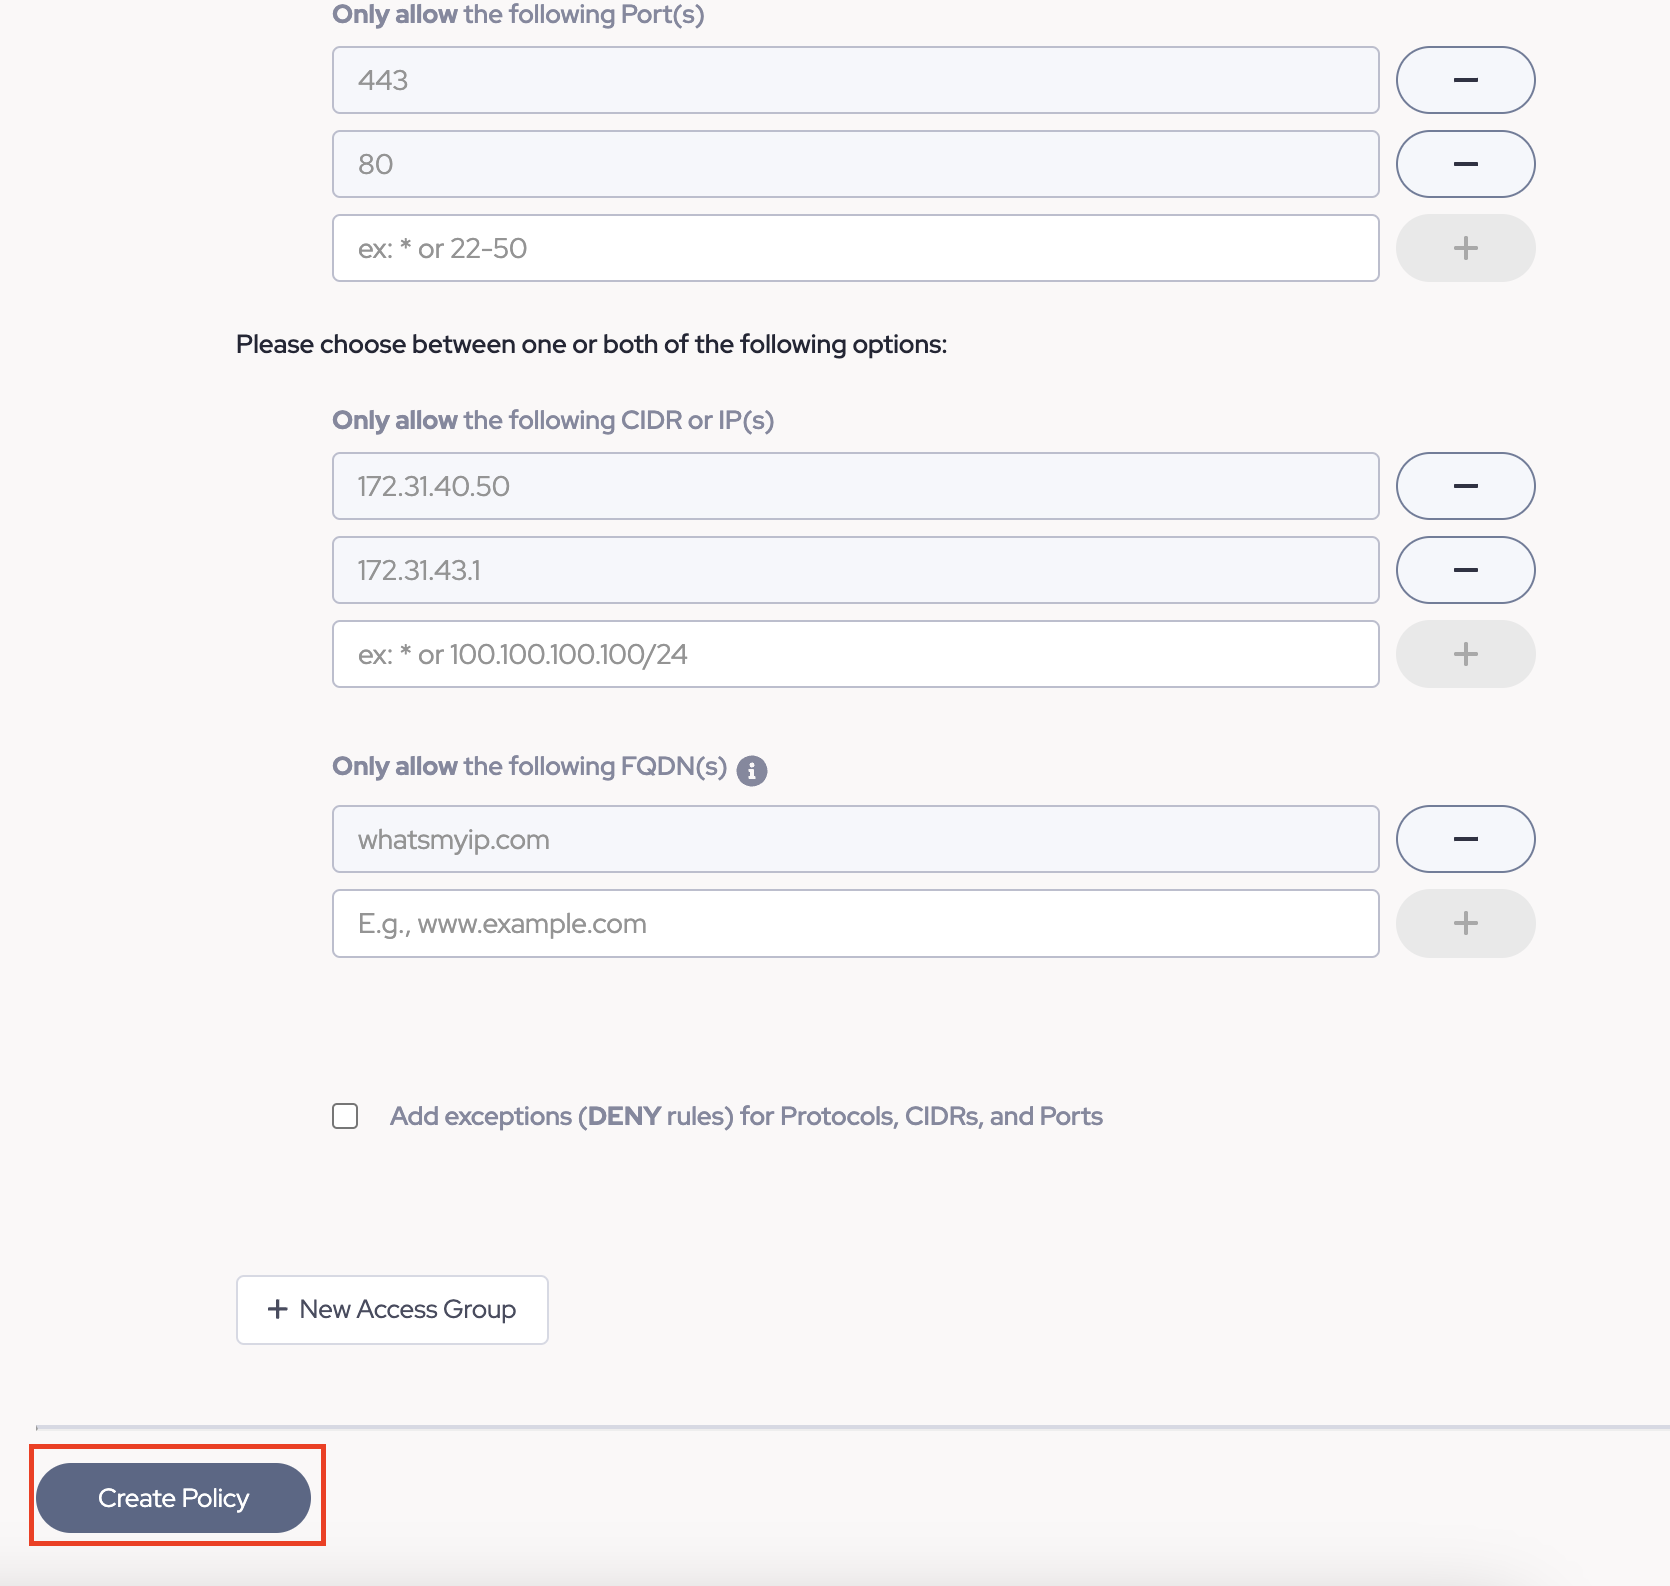
- Next, select the Protocol and Ports for the intended resources behind the Connector. In this guide series, we will be protecting a web server and SSH server as an example, thus using TCP alongside ports 22, 80, and 443.
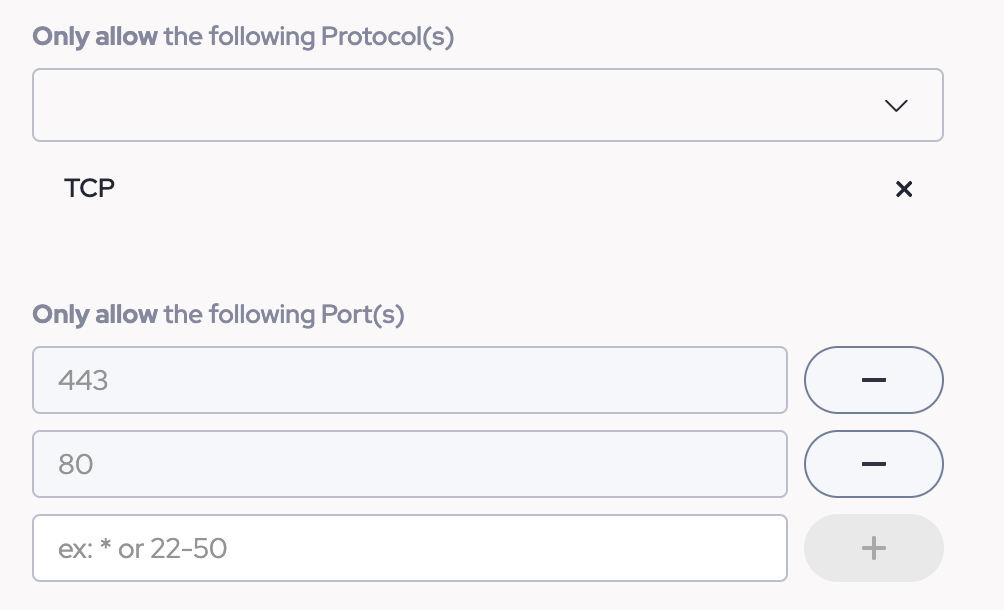
- Next, add the FQDN or CIDR range in which your resource(s) are configured.
The CIDR or IP value(s) will be the internal IP(s) on your network to which the Connector was deployed to. This can be a range of IPs or a specific IP.
In this example, 172.31.43.1 is our webserver and 172.31.40.50 is our SSH server.
FQDNs on the other hand, should be set to the fully qualified domain name (FQDN). These can be public resources or private domains. Private Domains will need to be defined on the Connector's configuration page before use in a Service Tunnel or Policy.
In this example, whatsmyip.com is a public domain we can use to validate that the tunnel which will be configured in Part Six, is functioning for public domains.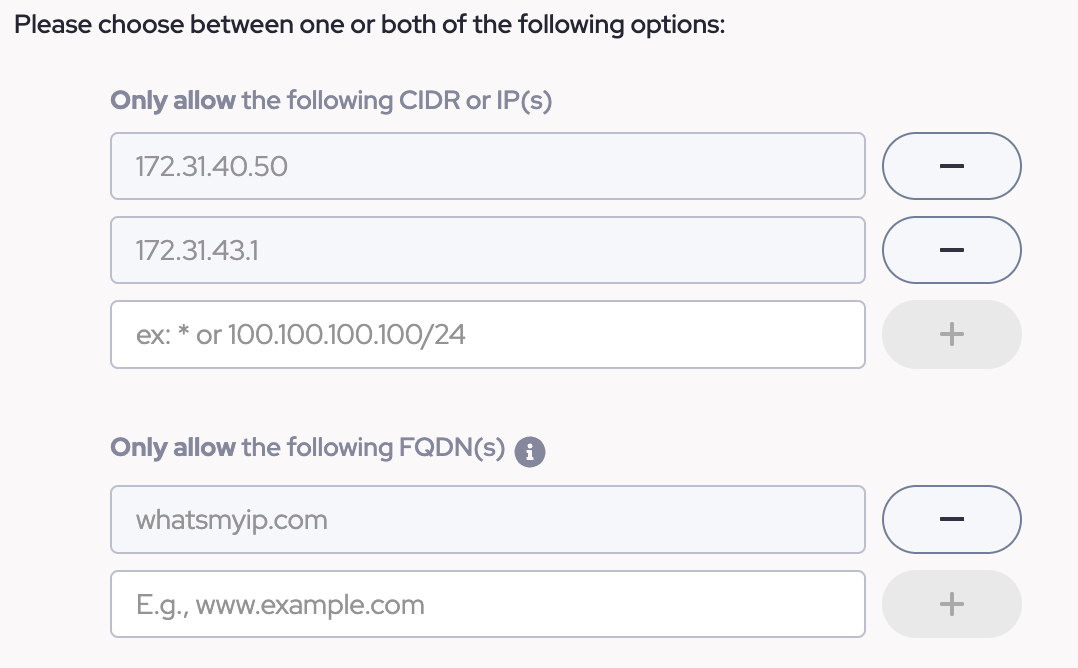
- Next at the bottom of the screen, click "Create Policy".
 TIP: To learn more about rules, please see the documentation from "Related Articles".
Next Steps
In Part Six we will go through making a Service Tunnel to connect to the resources defined in this part and apply this policy.
CSE Getting Started: Create A Service Tunnel
Related Articles
Related Articles
- DNS Filtering Transition FAQ
- Cloud Secure Edge (CSE) behavior when firewall is replaced or upgraded
- Cloud Secure Edge How to remove a Infrastructure service


 YES
YES NO
NO