Cloud Secure Edge Desktop App
Description
The desktop app is a cross-platform endpoint client, installed on end user desktop devices. The app is used to register and authenticate end user devices with the Cloud Command Center. Note that the desktop app is optional on MDM-managed devices on which you can install a Device Certificate via your device manager.
Sections #
Register the Desktop App & Supported OSs
Desktop App Capabilities and Components
Key features of the desktop app #
The desktop app provides the following features:
| Feature |
|---|
| Device Registration for device authentication |
| Device Trust Scoring for device posture checks |
| Auto-update capability so an end user can upgrade with a single click |
| Device Trust Verification capability to support native “sandboxed” apps (i.e., iOS/Android/macOS/Windows apps that use WebViews for authentication and are unable to access the Banyan Device Cert placed in the device cert store or keychain) |
| Seamless deployment via Device Managers |
| Service bundles an end user can access and favorite |
| List of Hosted Websites an end user can access |
| List of Infrastructure Services an end user can access |
| List of Service Tunnels an end user can access |
banyanproxy to access TCP services using short-lived X.509 client certs |
| Run Diagnostic Tool for running a Health Check and/or troubleshooting |
Register the Desktop App & Supported OSs
Overview #
This doc outlines how to install and register users to the desktop app, manually and automatically.
Note: If using an Endpoint Detection Response (EDR) or Next-Gen Antivirus solution in an org, admins should add the Cloud Secure Edge app as a path exclusion within their solution so that CSE isn’t flagged as a threat. This will ensure that Cloud Secure Edge services continue to function as expected.
Supported OSs #
The desktop app can be installed on the following Operating Systems:
| OS | Operating System Versions |
|---|---|
| macOS | 15 Sequoia, 14 Sonoma |
| Windows | Windows 10, Windows 11 |
| Linux | 22.04 LTS, 24.04 LTS; Fedora 38, Fedora 39; Oracle Linux 8 and 9 |
| ChromeOS | Latest stable version |
Steps for manually installing and registering to the desktop app #
Installation
The desktop app can be downloaded through the following link: https://getcseapp.sonicwall.com/download_app/
Select the appropriate download option for your device.
Registration
The desktop app securely registers an end user’s device, allowing orgs to roll out a zero-trust security model, whereby corporate apps are only accessible to registered devices. By default, the device registration flow is designed in adherence to a zero-trust security model, and it requires end users to complete the following steps:
- Enter the Invite Code (needed to register devices to the desired organization).
- Authenticate with the organization’s Identity Provider.
- Set the device ownership type.
Once these steps have been completed, a Trusted Device Certificate will be issued for the device and placed in the device’s keychain or certificate manager.
Steps for zero touch installation and registration #
Note: Zero touch is not yet supported on Linux.
The desktop app can be packaged and distributed to your device fleet in zero touch mode, requiring no interaction at all from end users. Zero touch mode does not require an end user to be an admin on the device.
Deployment, installation, and registration take place in a matter of seconds; This is why zero touch mode is the recommended way to deploy the desktop app in a production roll out.
(a) Zero-touch installation and registration for macOS
(b) Zero-touch installation and registration for Windows
Walk-through of the Desktop App
Home #
On the Home tab, end users can view Services, Service Tunnels, and Active Connections in a single location. Home tabs are tailored to the end user’s Role in their org.
- Service Tunnel visibility: Orgs that use Service Tunnel can see whether it’s connected and running.
- Connect on Login: If Connect on Login is enabled for Service Tunnel (the green button with the arrow), users will automatically connect to Service Tunnel each time they log into the desktop app.
- Recently Accessed Services: End users have quick access to recently used services.
- Device Trust Level: End users can quickly scan their device Trust Level.
Services #
Under My Services, end users can view all services their device has access to within an org.
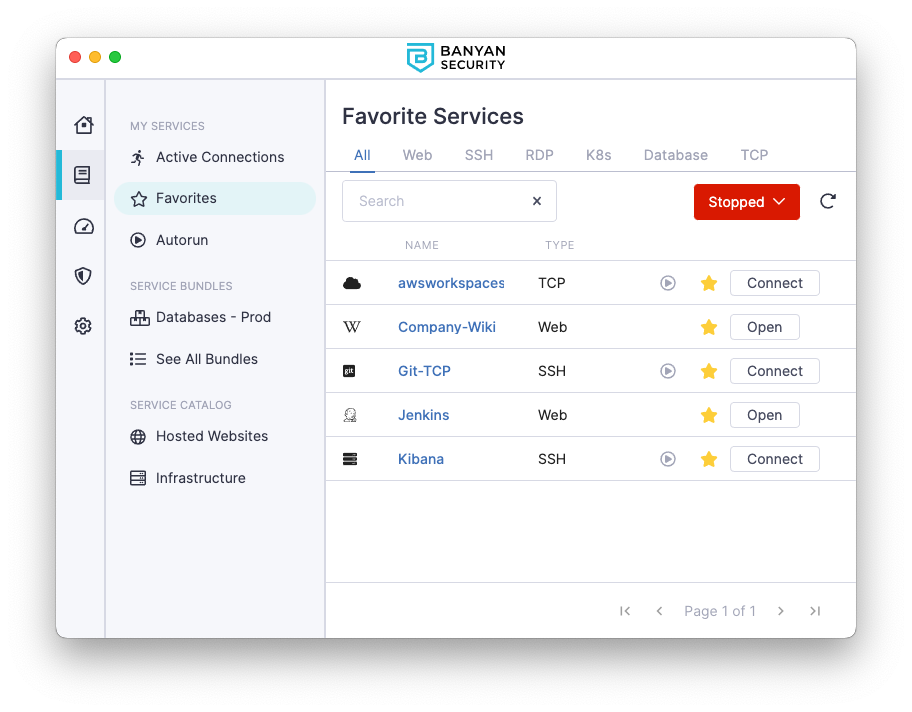
- Active Connections: These are services that an end user is currently using.
- Favorites: These are services bookmarked for easy access.
- Service Bundling: End users can bundle services together, for added organization.
- Service Catalog: End users can view their services organized by type (i.e., Hosted Websites and Infrastructure services).
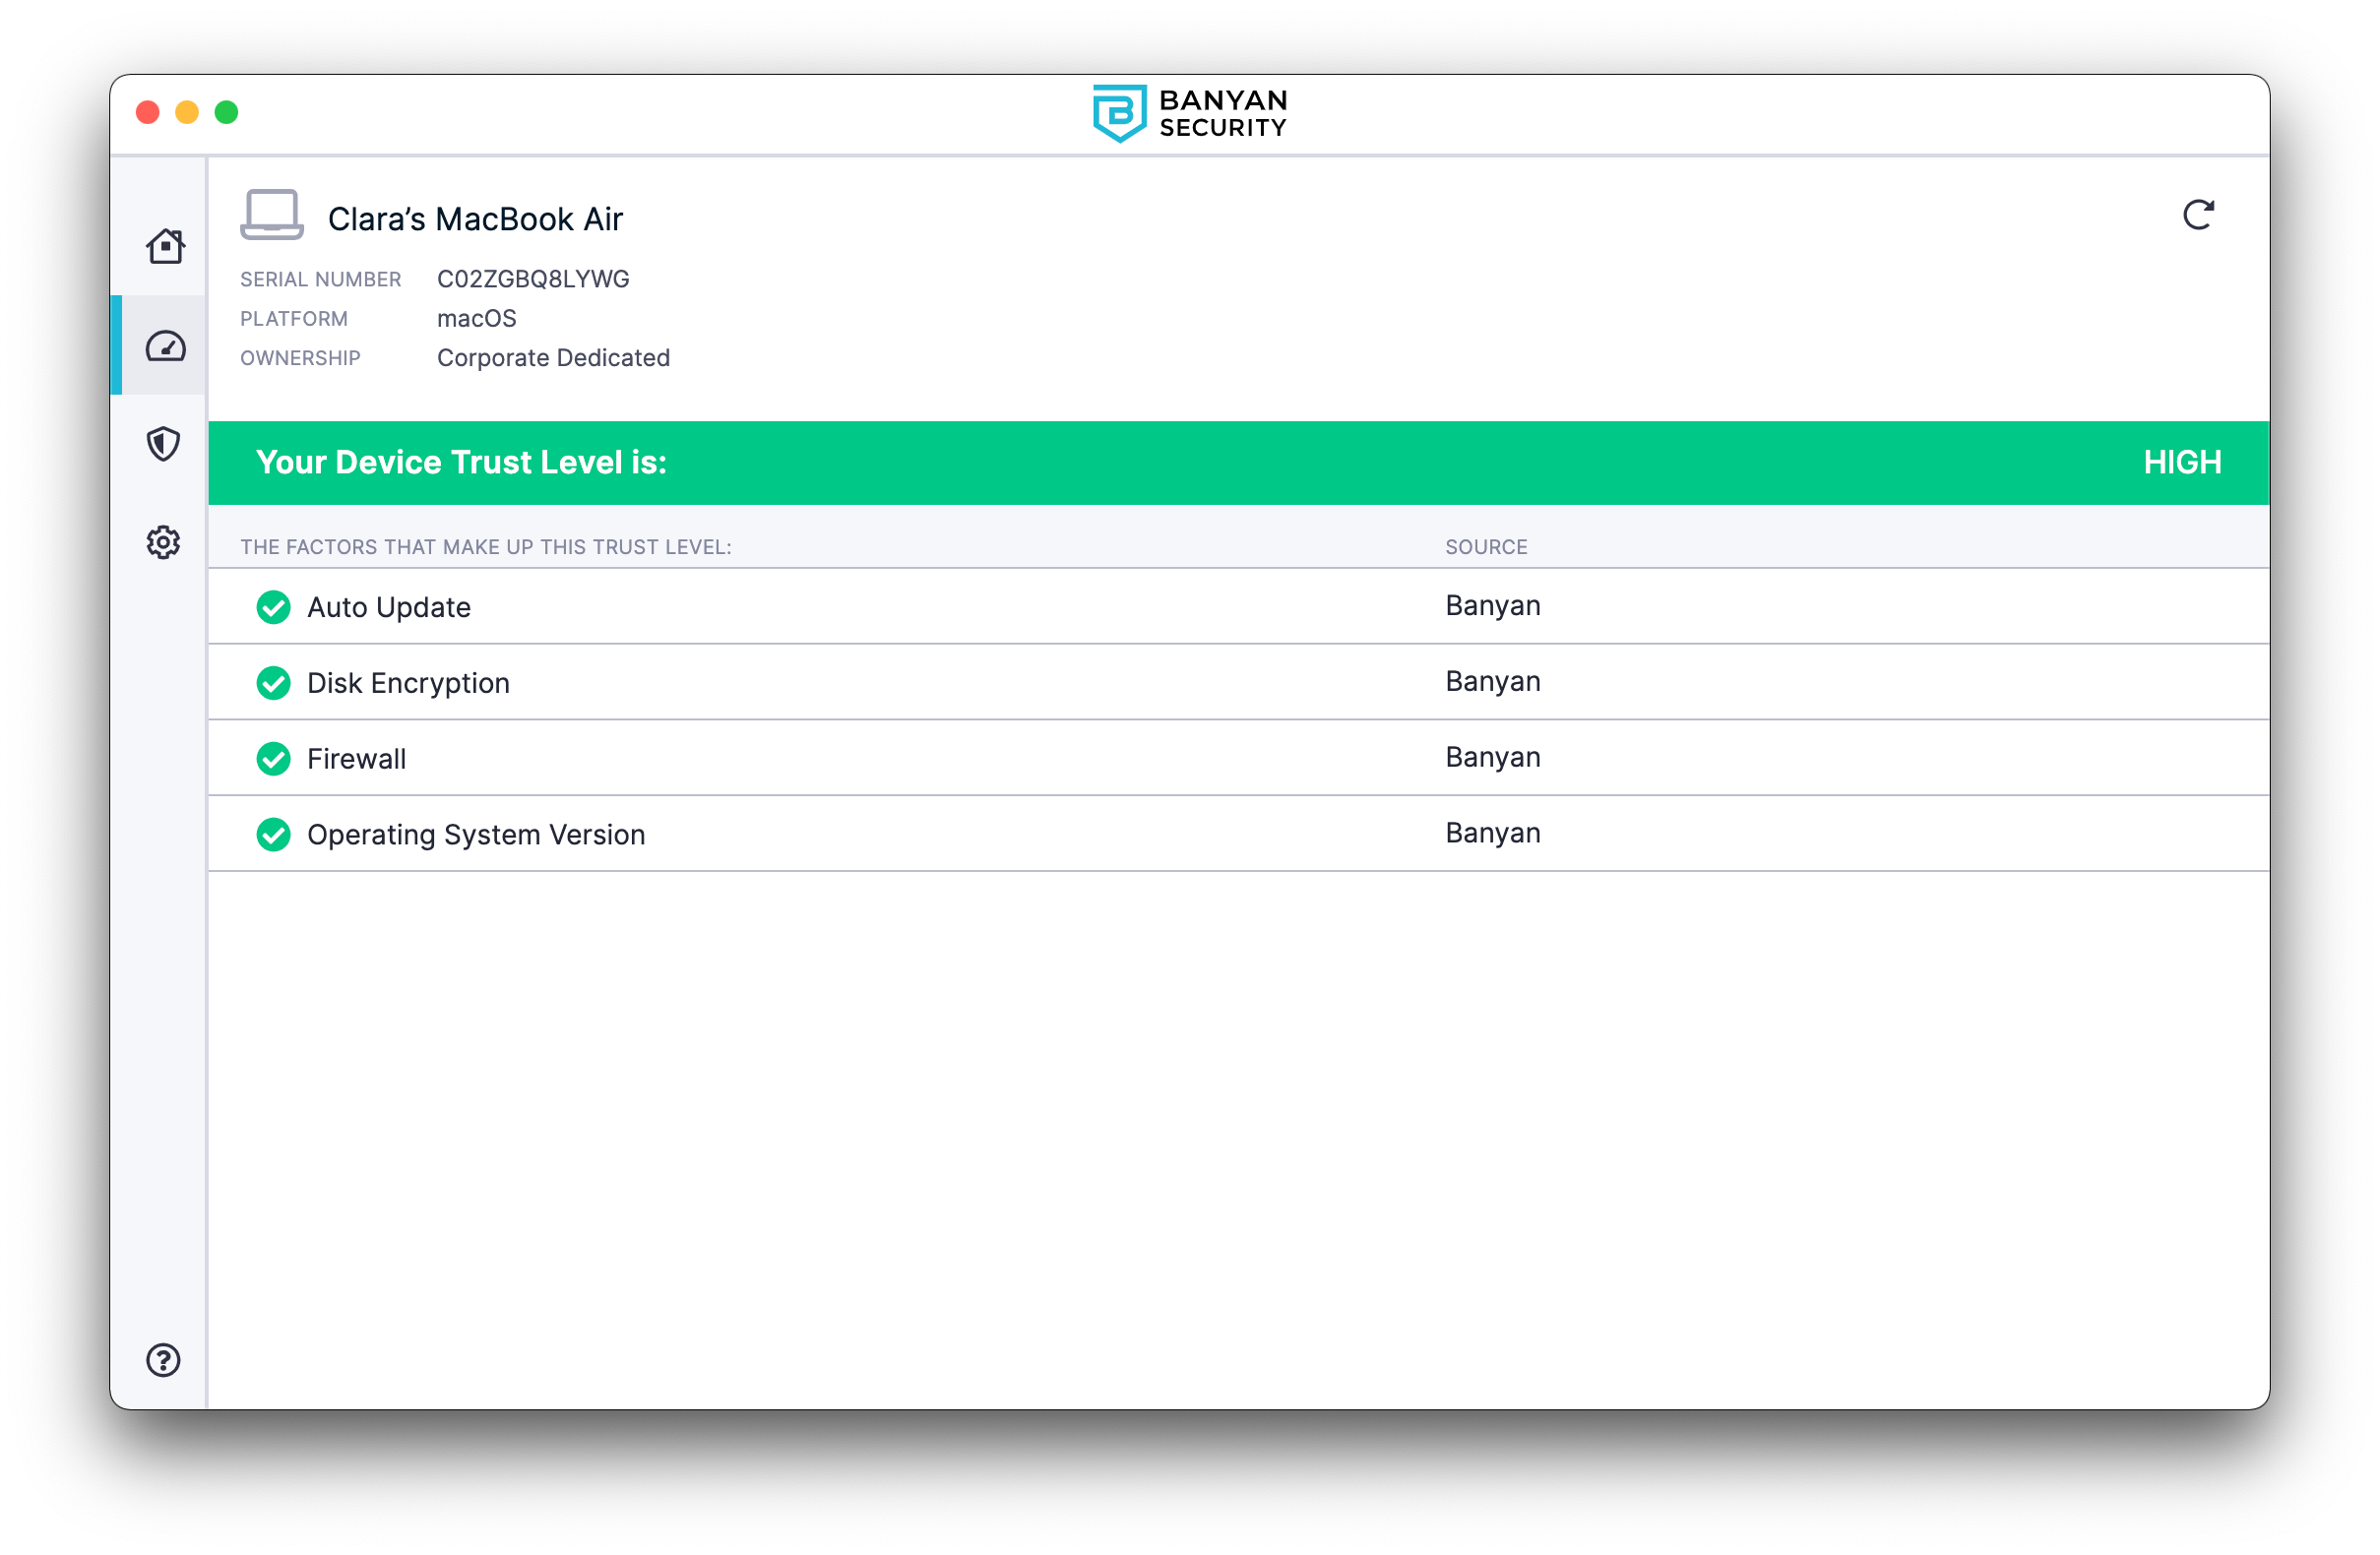
Devices #
Under Devices, end users can view Trust Levels for each of their registered devices. Beneath each device is a list of Trust Factors, which together make up the Trust Level.
Settings #
In Settings, end users can view the status of their session and services (e.g., WireGuard Service and Admin Service).
- Health Check: End users can troubleshoot using the Run Diagnostic Tool.
- Support Website: End users have quick access to Cloud Secure Edge’s Support Website.
- Switch Orgs: End users can switch between organizations in Settings.
Help #
In the Help tab, end users can select Get Help to access admin-defined help content and support links to self-remediate technical issues.
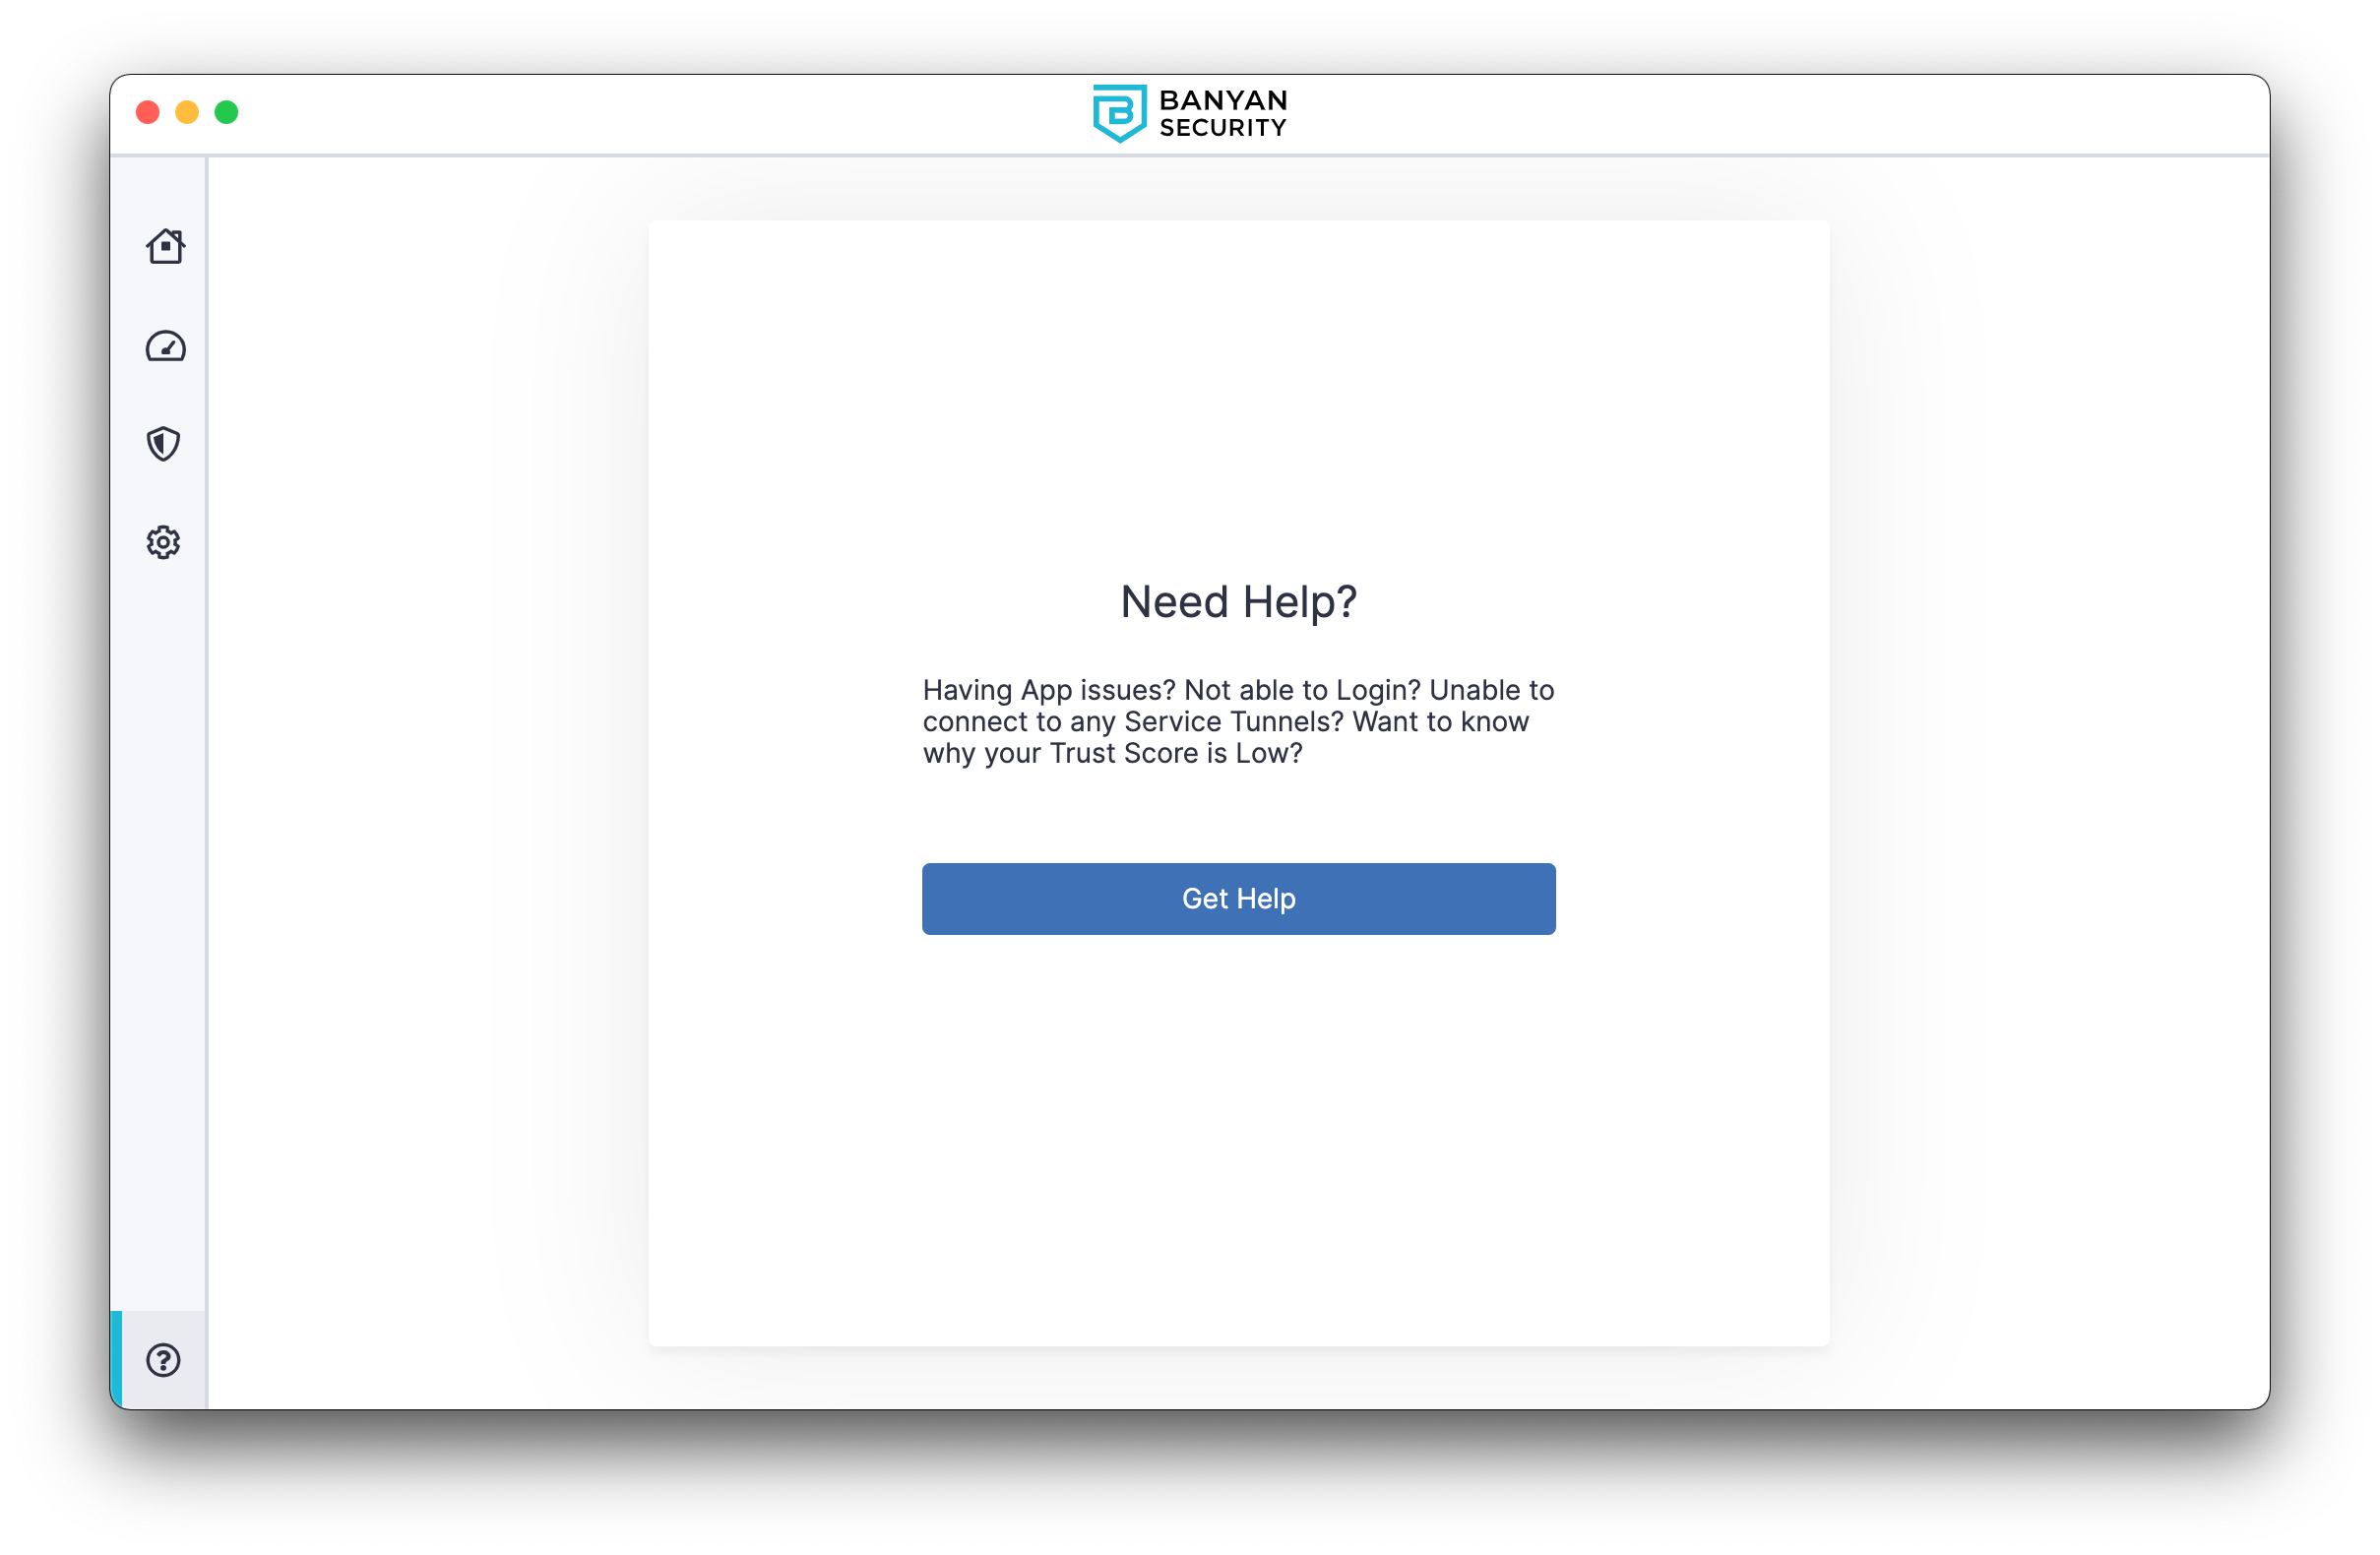
- If the admin does not enter custom help messaging, end users will be sent to the Health Check section of the app, where they can use the Run Diagnostic Tool to troubleshoot issues.
Desktop App Capabilities and Components
Overview #
The desktop app allows end users to register their devices with SonicWall Cloud Secure Edge (CSE) and access CSE-secured services.
Desktop app capabilities #
Admin Service #
Note: In order for the Admin Service to collect your org’s user directory, the Registry Key Trust Factor requires the desktop app to launch at least once. Subsequently, the Admin Service does not require the app to be open and running in order to work (i.e., your end users do not need to open their desktop app in order for the Admin Service to function).
The Admin Service (banyanapp-admin) accounts for any functionalities in the desktop app that require administrative privileges; it also collects Trust Factors and enables Internet Threat Protection (ITP) policies. It’s installed with the app (by the installer) and run as a service on the machine. It functions independently but contains select command line utilities in the case of an emergency.
WireGuard Service #
In order for end users to connect to Service Tunnels, the app must install the WireGuard Service which creates and maintains the WireGuard tunnel interface. This one-time installation requires admin privileges and is triggered when an end user connects to their first Service Tunnel. The service runs on port 8119.
When an ITP policy is applied to a device, SonicWall takes over the device’s DNS service. All DNS queries will then be routed to the WireGuard Service on the device, listening on 127.0.0.5 port 53. The WireGuard Service will then route these queries to name servers monitored by SonicWall.
Currently, Linux users must install the WireGuard tools manually via https://www.wireguard.com/install/. We are looking to automate this via the app in an upcoming release.
Banyan Proxy Service #
In order for end users to access Infrastructure Services, they need to use the banyanproxy component of the desktop app. When an admin runs the installer, the desktop app places the banyanproxy executable in a specific directory. Then, when the desktop app is running, and the user connects, it launches the banyanproxy executable to set up the connection.
The banyanproxy executable location depends on the Operating System in use:
| Operating System | Executable Location | Symbolic Link Location |
|---|---|---|
| macOS | /Applications/Banyan.app /Contents/Resources/bin/banyanproxy | /usr/local/bin/banyanproxy/ |
| Windows | %PROGRAMFILES%\Banyan\resources\bin\banyanproxy.exe | %USERPROFILE%\AppData\Local\Microsoft \WindowsApps\banyanproxy |
| Linux | /opt/Banyan/resources/bin/banyanproxy | N/A |
The banyanproxy functions as a forward proxy to establish the secure connection, using the TrustCert, between the end user’s device and the TCP service, via Netagent.
The banyanproxy has the following capabilities, in order to support any type of TCP client and service:
| Mode | Command | Description |
|---|---|---|
| SSH | banyanproxy dest_host dest_port | In this mode, banyanproxy connects to a destination host and destination port, and sends and receives data using stdin/stdout instead of using a network connection. Used for OpenSSH client. |
| TCP | banyanproxy -l listen_port dest_host dest_port | Operates similar to SSH Mode, except that banyanproxy is listening for client network connection rather than stdin/stdout. Designed for TCP client/server communication. |
| HTTP_CONNECT_DAISY_CHAIN | banyanproxy -d -l listen_port proxy_host proxy_port | In this mode, banyanproxy forwards the client’s HTTP CONNECT request to the given proxy host and port. |
Multi-user accounts #
Multiple users (with separate accounts) can access CSE-protected services via the desktop app on a single device. This may be useful in work environments where employees rotate use of a single device.
One-click SSH access #
Admins can define an SSH service for end users. Now, when end users select Connect in the desktop app to connect to the SSH service, the desktop app will automatically update the device’s SSH Config file with the banyanproxy settings needed.
The desktop app uses an SSH config location depending on the Operating System of the device:
| Operating System | SSH Config Location |
|---|---|
| macOS | $HOME/.ssh/ |
| Windows | %USERPROFILE%\.ssh\ |
| Linux | $HOME/.ssh/ |
When an end user connects to an SSH service, the app places CSE’s SSH configurations in a file called bnn.config in the SSH config location. The app also adds the SSH Include command to the .config file to incorporate Cloud Secure Edge’s SSH configurations.
Prior to Desktop app v3.0.0, the app would place CSE’s SSH configurations in a file called banyan.config. In desktop app versions 3.0.0 and later, the app places CSE’s SSH configurations in a file called bnn.config.
If the SSH Config directory or file doesn’t exist, the desktop app will automatically create it. However, if the SSH Config file or directory is not writable, end users will see an error message when they try to connect to an SSH service.
One-click Kubernetes access #
Admins can define a Kubernetes service for end users. Once completed, and end users connect to the Kubernetes API service, the desktop app will automatically create the Kube Config file with the banyanproxy and token settings needed.
The Kubernetes config location depends on the Operating System of the device:
| Operating System | Kube Config Location |
|---|---|
| macOS | $HOME/.kube/ |
| Windows | %USERPROFILE%\.kube\ |
| Linux | $HOME/.kube/ |
When an end user connects to a Kubernetes service, the app creates a Kube config file, banyan, in the Kube Config location. To make the Kubernetes Service the default method to access their cluster, end users can set the KUBECONFIG env variable and then use the config use-context commands as detailed in the kubectl docs.
This feature uses the proxy-url capability available in kubectl v1.19+. If end users are using an older version of kubectl, they will need to add https_proxy env var in front of their kubectl commands.
Desktop app components #
Browser-based authentication flow #
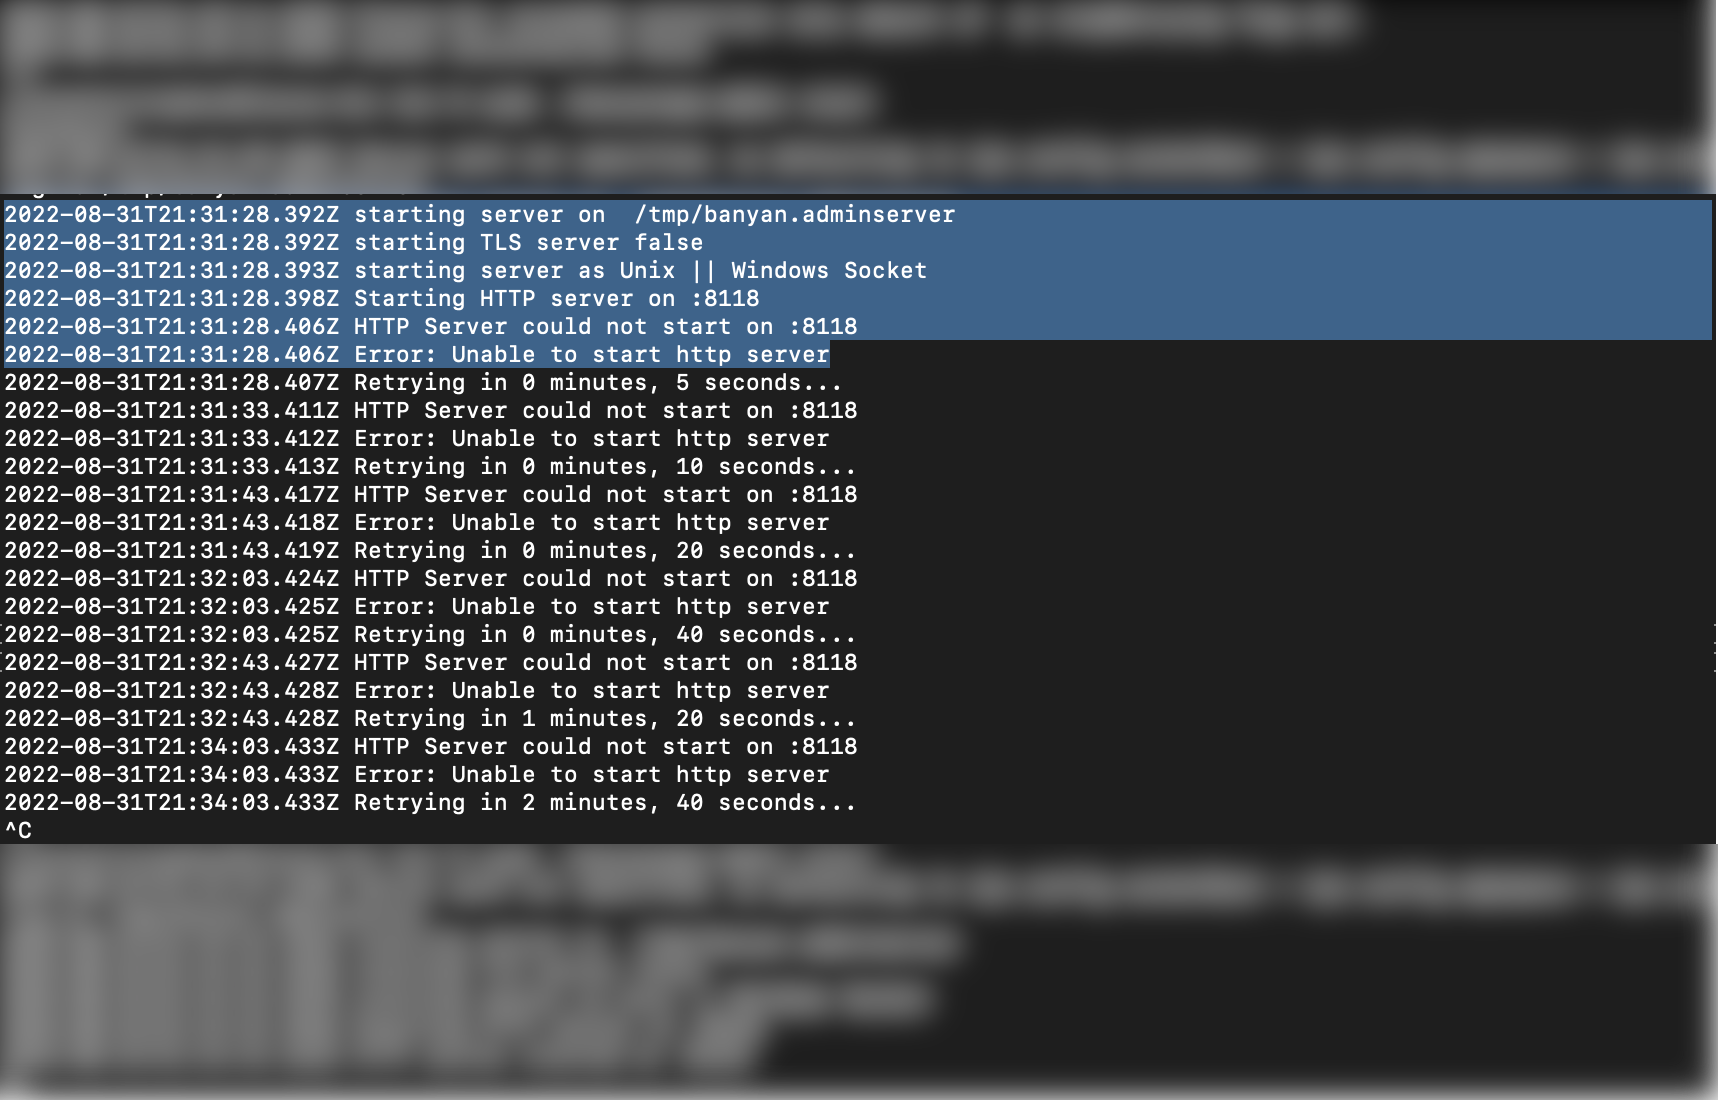
Cloud Secure Edge’s desktop app listens on a local port at localhost:8118 to facilitate user authentication via a browser-based standards-compliant OpenID Connect flow. However, if the device has another application running on port 8118, the desktop app will raise an error. In this scenario, the end user must stop the application that is using port 8118 before the desktop app authentication flow can proceed.
Short-lived certificates #
When an end user logs in via the desktop app, a cryptographic key-pair is generated and two short-lived certificates are obtained for use in authenticating the user and device. The X.509 format TrustCert is used for Mutually-authenticated TLS. The SSH format SSHCert is used for SSH certificate authentication.
In addition to short-lived certificates, Cloud Secure Edge (CSE) requires a valid device certificate in order to access protected services. Upon registering a device, CSE issues a trusted device certificate to the device and places it in the device’s keychain or certificate manager.
| Cert Nickname | Format | Subject CN / KeyID | Cert Filename | Private Key Filename |
|---|---|---|---|---|
| TrustCert | X.509 | Banyan Client ... | login-cert.pem | login-key.pem |
| SSHCert | SSH | ssh-rsa-cert ... user | login-key.pem-cert.pub | login-key.pem |
Both the short-lived X.509 certificate login-cert.pem and the short-lived SSH certificate login-key.pem-cert.pub use the same private key login-key.pem.
The desktop app places the certs and key files in a specific directory depending on your Operating System. Since these certificates are short-lived, they can be stored safely in the file system (instead of your device certificate manager).
| Operating System | Short-lived Certificate Location |
|---|---|
| macOS | $HOME/Library/Application Support/banyanapp/ |
| Windows | %USERPROFILE%\AppData\Roaming\banyanapp |
| Linux | $HOME/.config/banyanapp |
Admins can use standard openssl and ssh-keygen commands to examine the short-lived certificates.
$> openssl x509 -in login-cert.pem -noout -text

Certificate:
    Data:
        Version: 3 (0x2)
        Serial Number:
            17:dd:b3:7c:3a:aa:71:42:90:1d:a7:ab:43:db:2d:df:69:fc:52:3d
        Signature Algorithm: sha512WithRSAEncryption
        Issuer: O = novpntest, OU = Certificate Authority, CN = testorg Banyan Private Root CA
        Validity
            Not Before: Jul  2 04:57:00 2020 GMT
            Not After : Jul  3 03:57:00 2020 GMT
        Subject: OU = "Banyan Client carly@banyanops.com", CN = Banyan Client carly@banyanops.com
        Subject Public Key Info:
            Public Key Algorithm: rsaEncryption
                RSA Public-Key: (2048 bit)
                Modulus:
                    00:c7:10:a7:8d:9f:18:06:f3:4e:1f:4b:20:f6:27:

...
$> ssh-keygen -L -f login-key.pem-cert.pub

login-key.pem-cert.pub:
        Type: ssh-rsa-cert-v01@openssh.com user certificate
        Public key: RSA-CERT SHA256:yv/nypkONDQF+rS8pJd5pJvItB7Y7wol1KjJfIxhMdE
        Signing CA: RSA SHA256:LGvtbCthk48jqxuggCJKAw6stao7VDIvd2OuRipczcs
        Key ID: "carly@banyanops.com ABCD8BL00KH"
        Serial: 0
        Valid: from 2020-07-01T22:02:21 to 2020-07-02T21:02:21
        Principals:
                ANY
                new-role
        Critical Options: (none)
        Extensions:
                permit-X11-forwarding
                permit-agent-forwarding
                permit-port-forwarding
                permit-pty
                permit-user-rc
Troubleshooting the Desktop App
Overview #
This doc outlines common desktop app issues as well as where to find the log files related to various desktop app functionalities, so that end users can independently address problems that arise.
Desktop app requirements #
SonicWall uses the following ports and IP addresses for communications between the desktop app and the Access Tier:
Outbound:
- TCP 80
- TCP 443
- TCP 8443
- UDP 51820
- TLS inspection exemption for
net.banyanops.comand<orgname>.trust.banyanops.com.
These ports need to be available in order for the desktop app to function.
Issue: Port 8118 #
Synopsis
- The desktop app requires port 8118 in order to run;
- If an end user is running another process on this port, the desktop app cannot run.
Remediation Steps
macOS:
- In your CLI, run
lsof -i tcp:8118. This will indicate which process is currently running on port 8118. - In your CLI, enter
kill [process number]. - Run the desktop app installer again, and log into the desktop app.
Once these steps are completed, end users should be able to successfully use the desktop app.
Configuration and Log Files #
-
The desktop app automatically installs a
config3.jsonfile and logs files when an end user installs the desktop app on their device. Occasionally, when troubleshooting issues with the desktop app, we may ask you to send us the configuration file and log file from the app. -
The desktop app places these files in a specific directory depending on your Operating System:
| Operating System | Log Locations |
|---|---|
| macOS | $HOME/Library/Application Support/banyanapp/ |
| Windows | %USERPROFILE%\AppData\Roaming\banyanapp |
| Linux | $HOME/.config/banyanapp |
Admin Server Log Files #
-
The Admin Service (banyanapp-admin) is the administrative component of the app. It is responsible for any functionalities in the app that require administrative privileges.
-
Users may consult the Admin Server log files to address issues related to app functionalities that require admin privileges.
| Operating System | Log Locations |
|---|---|
| macOS | /etc/banyanapp/banyanwgs |
| Windows | C:/ProgramData/Banyan/banyanwgs |
| Linux | /etc/banyanapp/banyanwgs |
WireGuard Service Log Files #
-
If end users want to connect to Service Tunnels, the desktop app must install the WireGuard Service, which creates and maintains the WireGuard tunnel interface.
-
Users may consult the WireGuard Service log files to resolve Service Tunnel issues.
| Operating System | Log Locations |
|---|---|
| macOS | /var/log/banyan/ |
| Windows | C:\ProgramData\Banyan\logs |
| Linux | /var/log/banyan/ |
App Log Files #
- Users may consult the App log files to troubleshoot issues related to desktop app installation, registration, or device trust scoring.
| Operating System | Log Locations |
|---|---|
| macOS | ~/Library/Logs/banyanapp/main.log |
| Windows | %USERPROFILE%\AppData\Roaming\banyanapp\logs\main.log |
| Linux | ~/.config/banyanapp/logs/main.log |
Proxy Log Files #
- Users may consult the Proxy log files to troubleshoot issues related to
banyanproxy. These files can be reviewed if the TCP services are not working as expected.
| Operating System | Log Locations |
|---|---|
| macOS | $HOME/Library/Logs/banyanapp/banyanproxy |
| Windows | %USERPROFILE%\AppData\Roaming\Banyan\logs\banyanproxy |
| Linux | $HOME/.config/banyanapp/logs/banyanproxy |
Run Diagnostic Tool for troubleshooting #
If, in any case, end users are encountering issues (e.g., cannot access a service or register a device) and want to diagnose the issue in the desktop app, they can use the Run Diagnostic tool. End users can also use this diagnostic tool to package logs to send to their administrator.
1. Navigate from Settings > Health Check in your desktop app. Select Run Diagnostic Tool to run a health check.
- The Health Check menu will display a list of your device’s properties, the status of your sessions and services, and your device features (showing which security measures you have in place and whether your system is up-to-date). It will also display the status of certificates from all of your orgs.
2. At the bottom of the Health Check menu, select View Log Files to download your app logs.
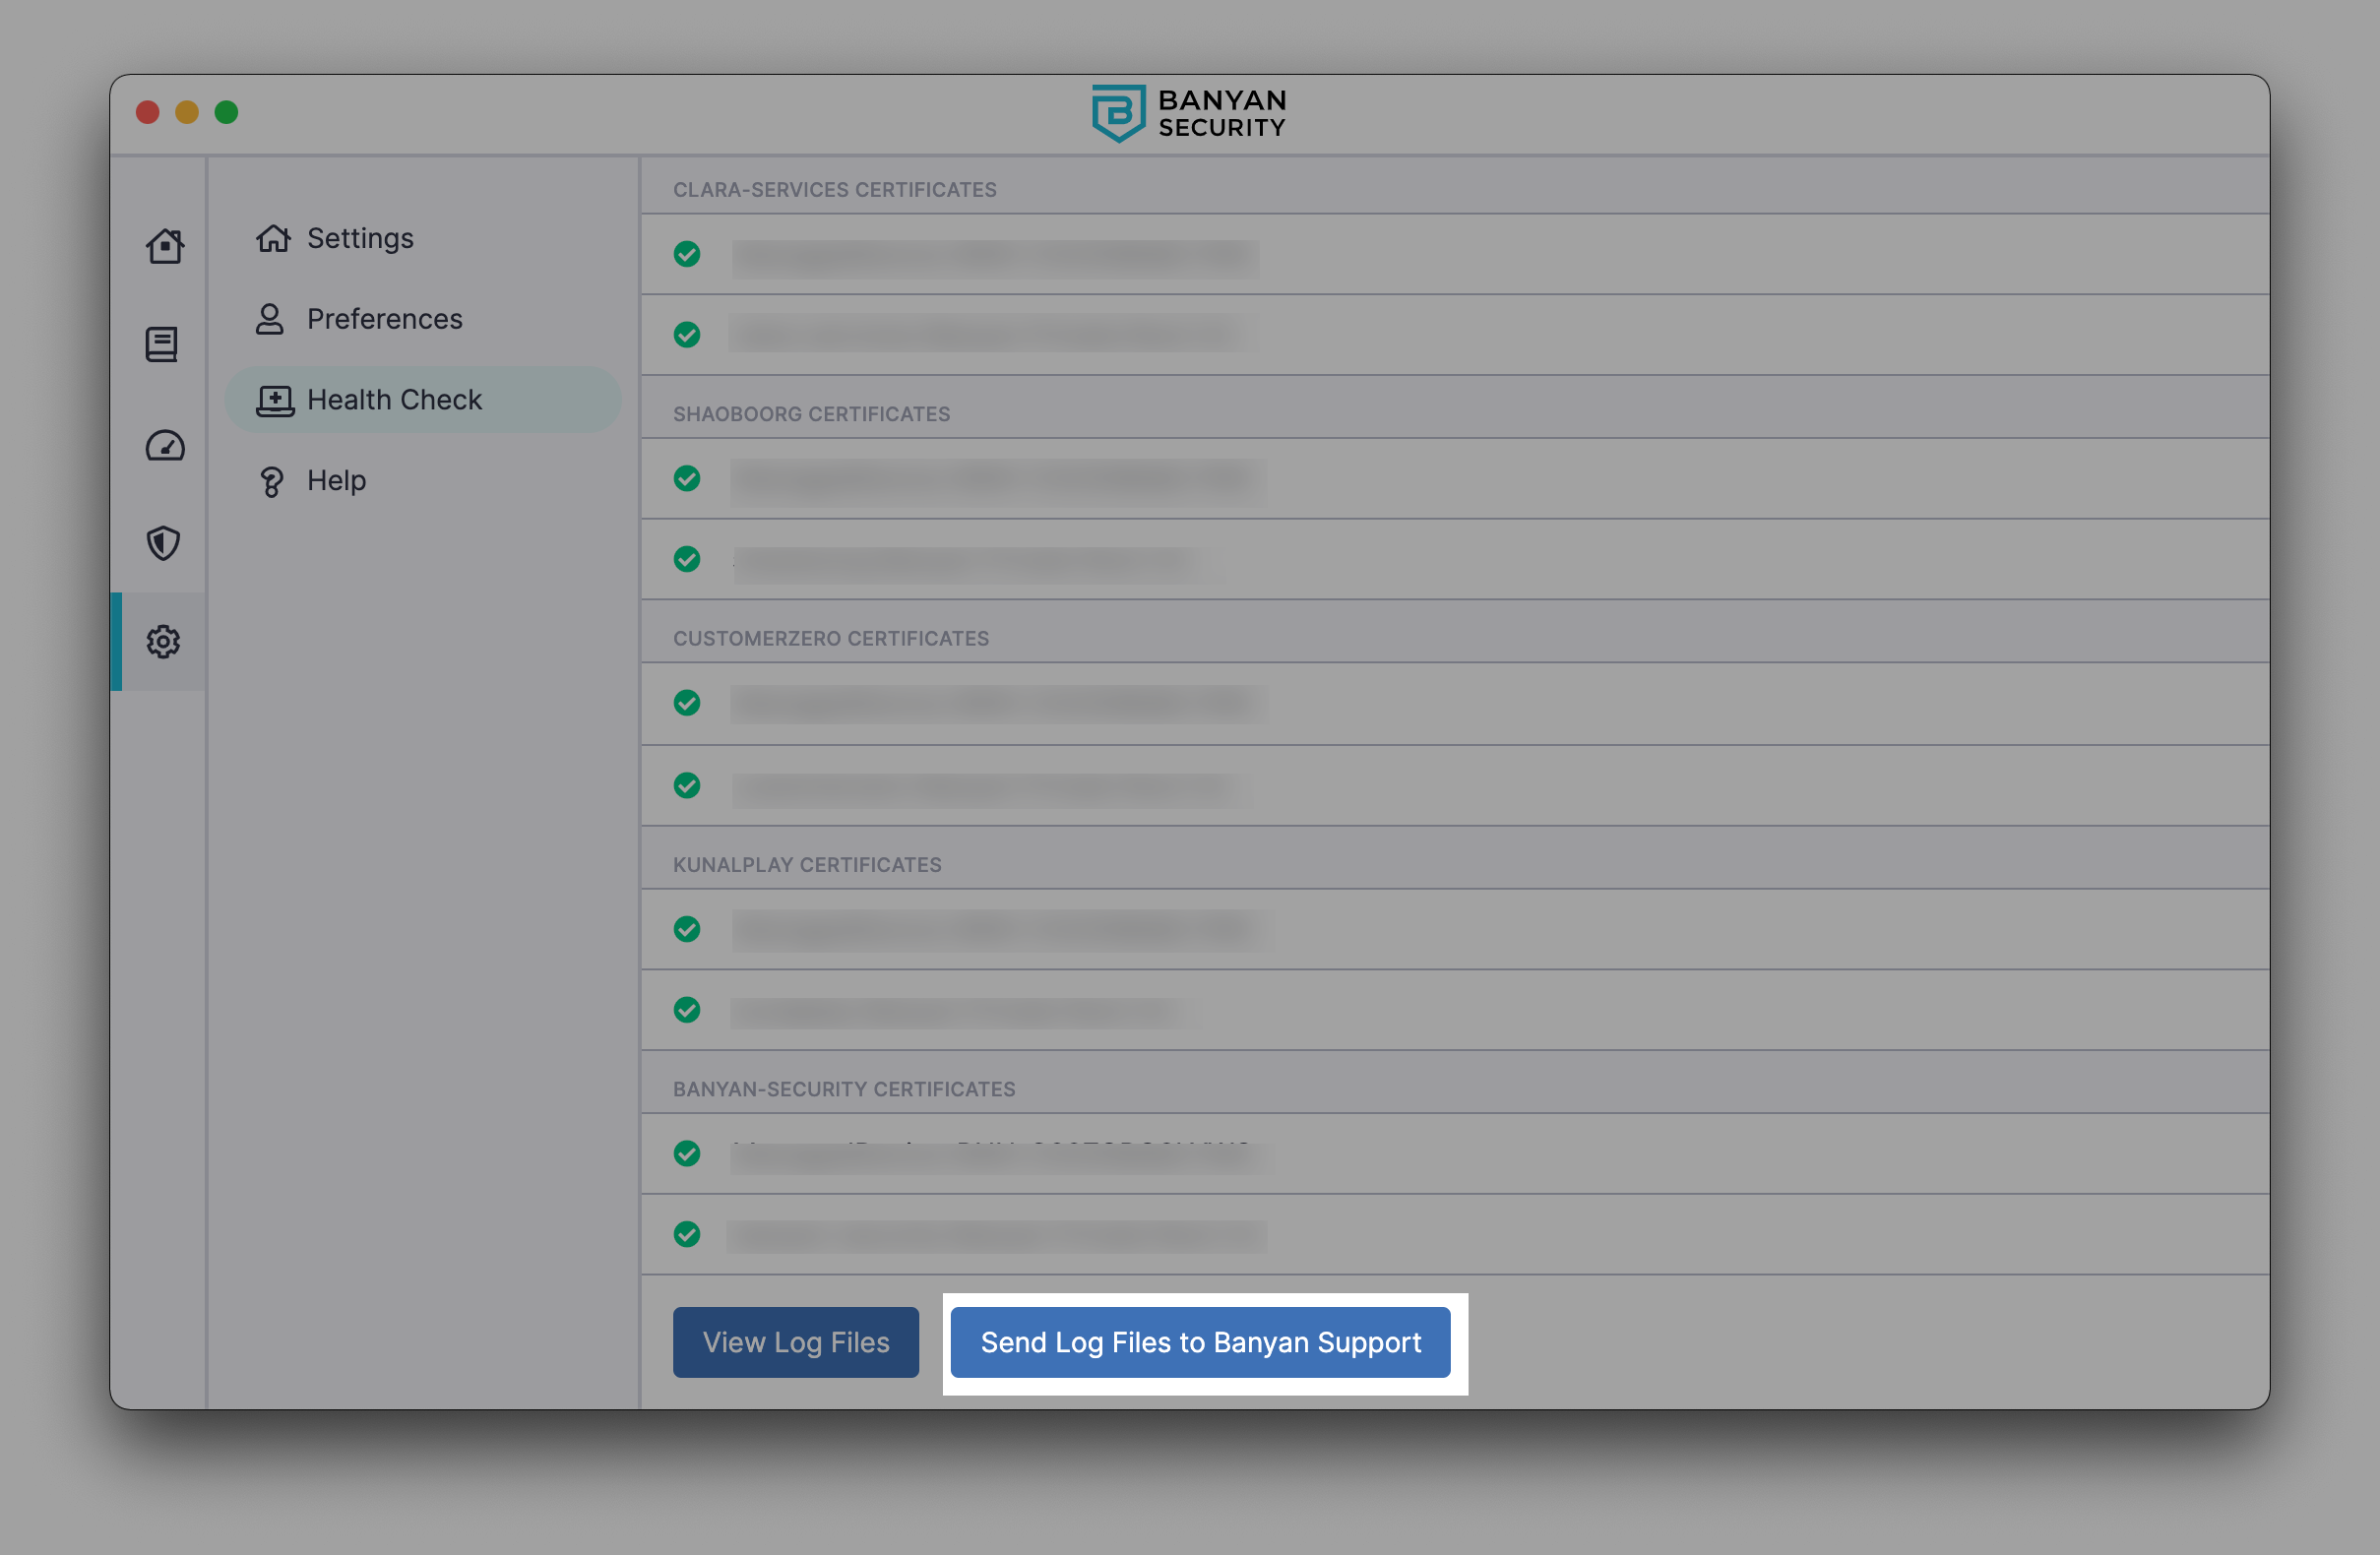
Send app log files directly to Support #
If end users are encountering issues and require support to help diagnose the issue in the desktop app, they can send app log files directly to Support.
1. Navigate from Settings > Health Check > Run Diagnostic Tool.
2. Select Run Diagnostic Tool, scroll to the bottom of the Health Check page, and select Send Log Files to Banyan Support.